
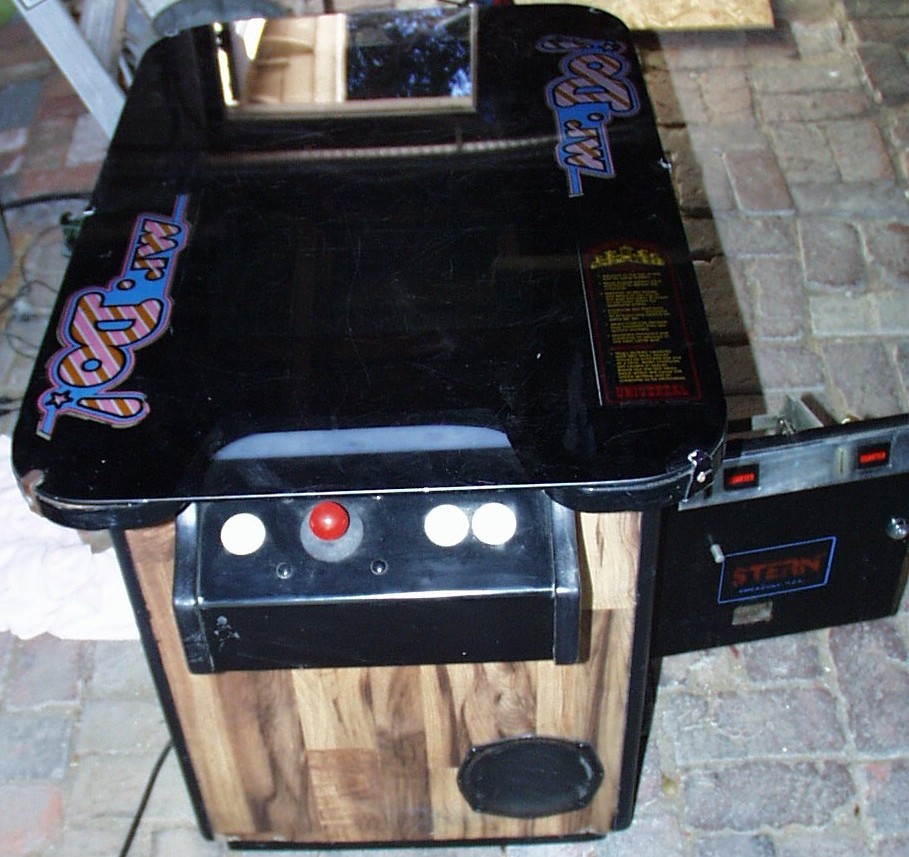
I am very interested in multi touch technology. I’ve been experimenting with lasers, cameras, projectors and screens for a few weeks and I decided to build a dedicated multi touch cabinet. Classic arcade games are also a hobby, so why not combine the two. I chanced upon a neighbor selling this very sad Mr. Do! cocktail cabinet that might have originally been a Stern Super Cobra. The seller had been storing it outside. The monitor was damaged which was perfect since I would be using projection. I probably should have taken more pictures of the original condition but I was in a hurry to tear it apart. The seller did not have the key so I drilled out the lock and found enough quarters inside for lunch. Upon inspection, I determined that the cocktail cabinet was originally a Super Cobra.

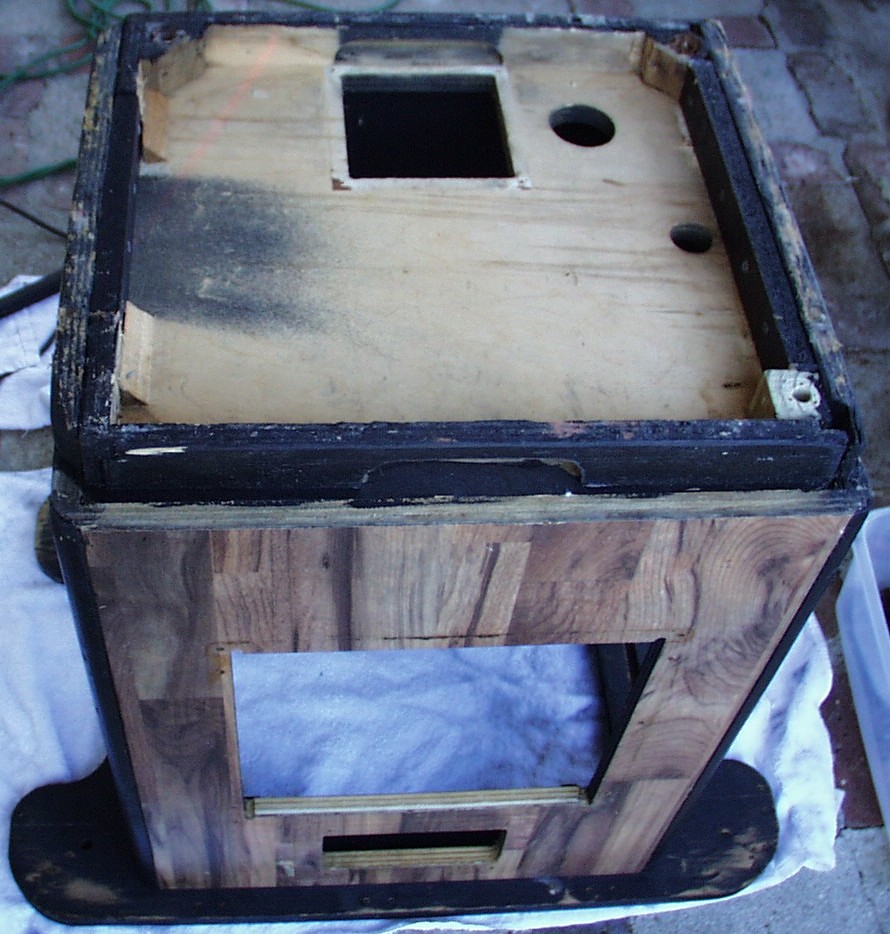
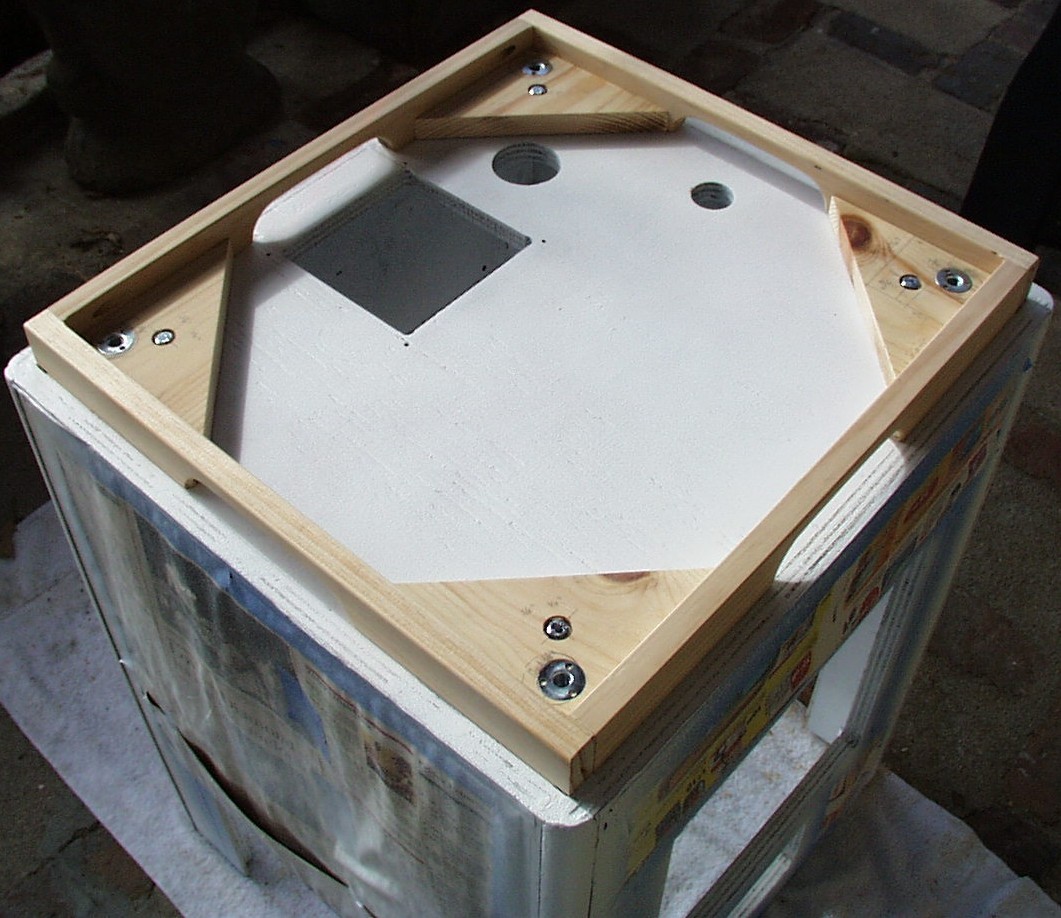
The base was all rotted and reeked of urine. Apparently some small animals had been making this their home. I constructed a new base out of pine.
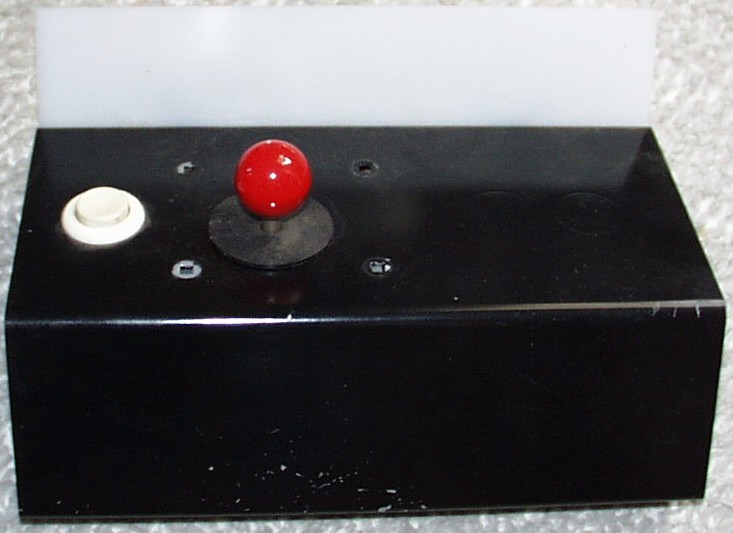
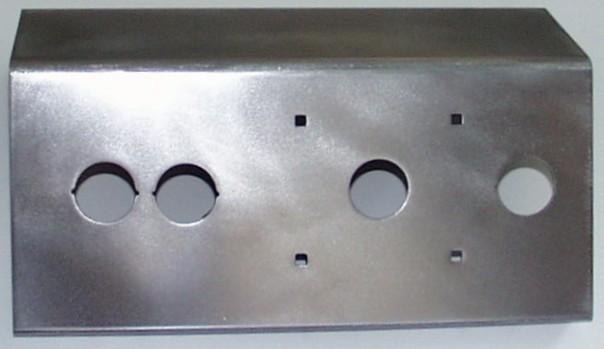
The control panels were very worn. Since, the metal looked OK after I stripped off the paint, I decided to go with a natural steel finish. I reused the original leaf switch joysticks, but had to replace the centering grommet on the Player 1. I was able to complete most of this project with parts lying around my house. However, I did splurge and purchase 2 Groovy Game Gear Turbo Twist 2 spinners and 2 micro-leaf pushbuttons. My Rototron cabinet has a Tornado spinner which is great for Tempest, but sucks for Arkanoid. The Turbo Twist works great for Arkanoid and the small footprint is perfect for the small CP. I added 3 Atari aluminum volcano illuminated pushbuttons to the Player 1 side. All the controls are interfaced using an old Ultimarc IPAC2 I had in my parts drawer.
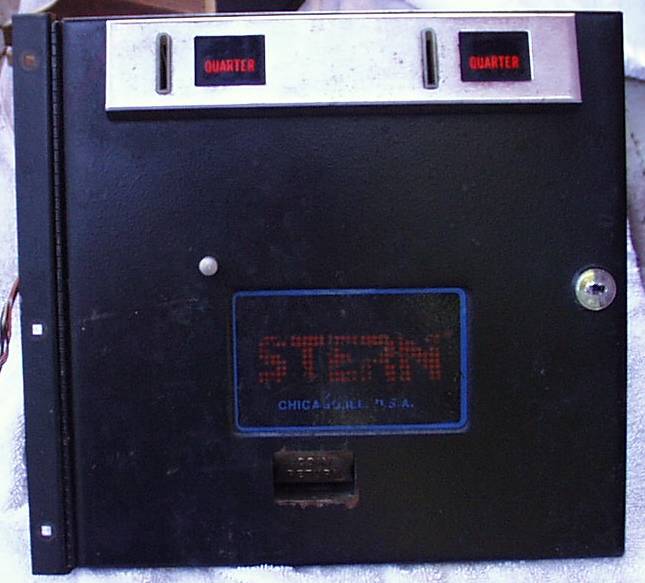
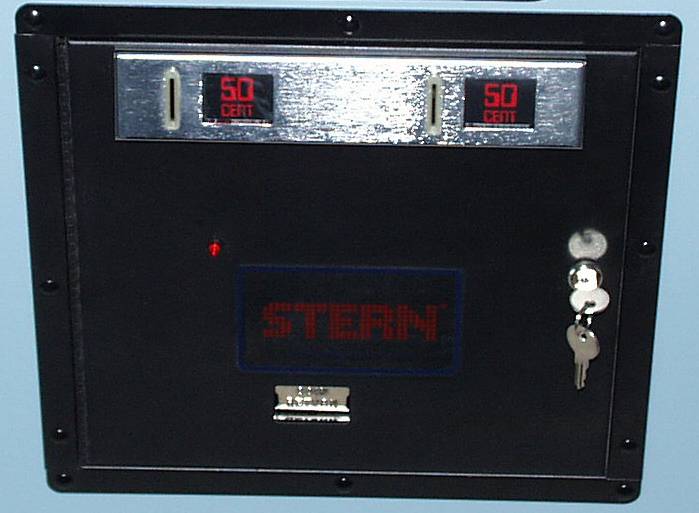
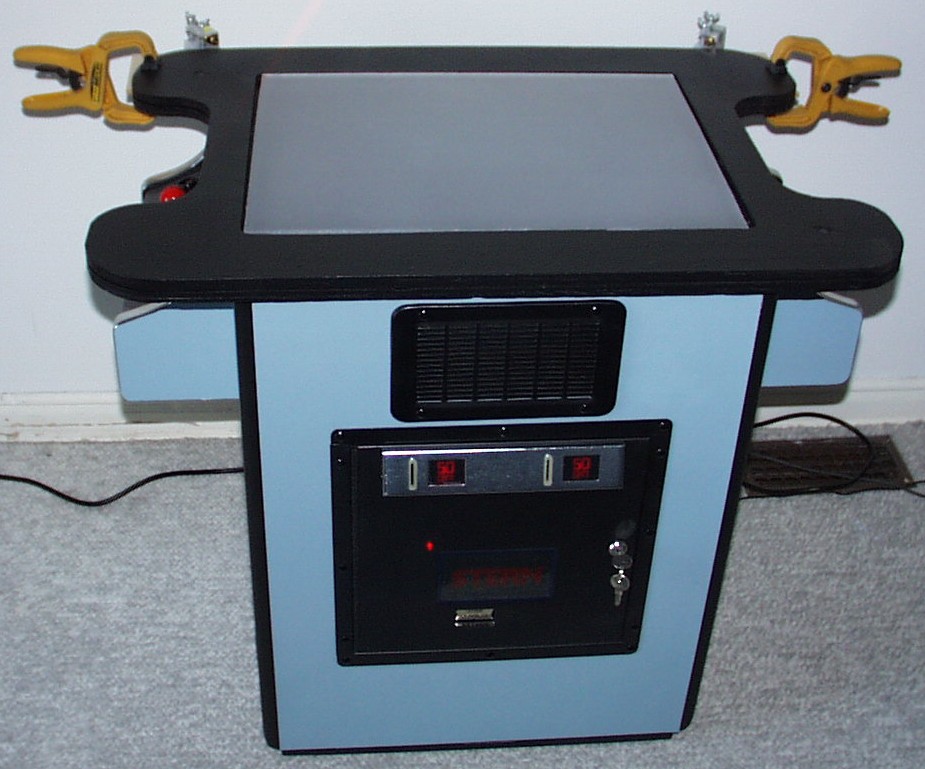
The original coin door on the left was rusted and scratched. On the right is the cleaned up door with fresh satin black paint. The coin insert labels were also scratched so I created some new ones in Illustrator. They are illuminated by super bright red LED’s. I replaced the coin return button with an illuminated red miniature push button which fires the player 1 & 2 coin inserts simultaneously. Finally, I replaced the drilled out lock with a new one.
Here is a shot of the interior. I am using a Casio Super Slim projector that works very well. The projector has a very small footprint and has a full 2x manual zoom which is a must for short throws. It also has a lamp saver mode which doubles lamp life and is more than bright enough for my 24″ display. I replaced the original noisy 120V case fan with an ultra quiet 120mm 12V version. The orange blades are visible under the FS mirror mount.
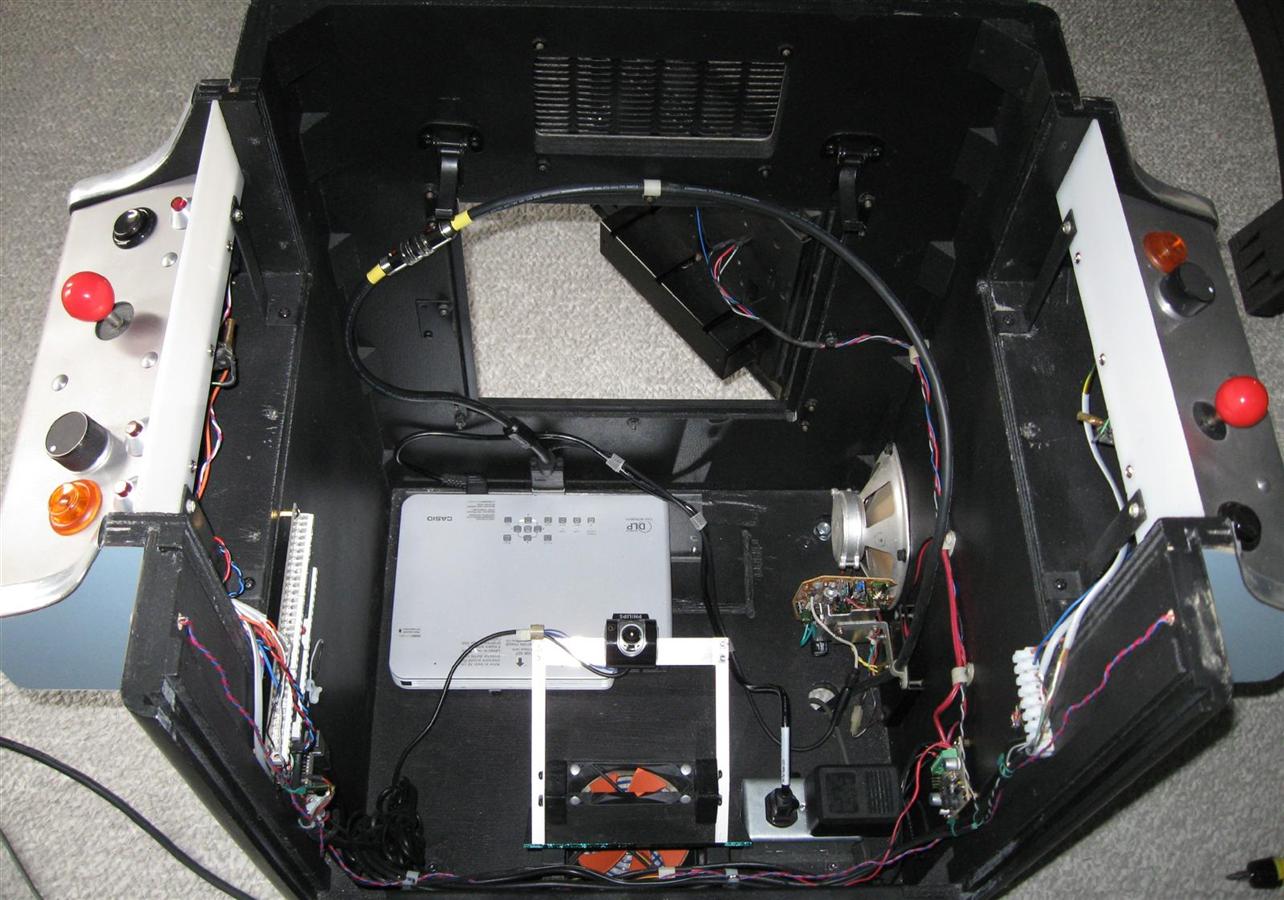
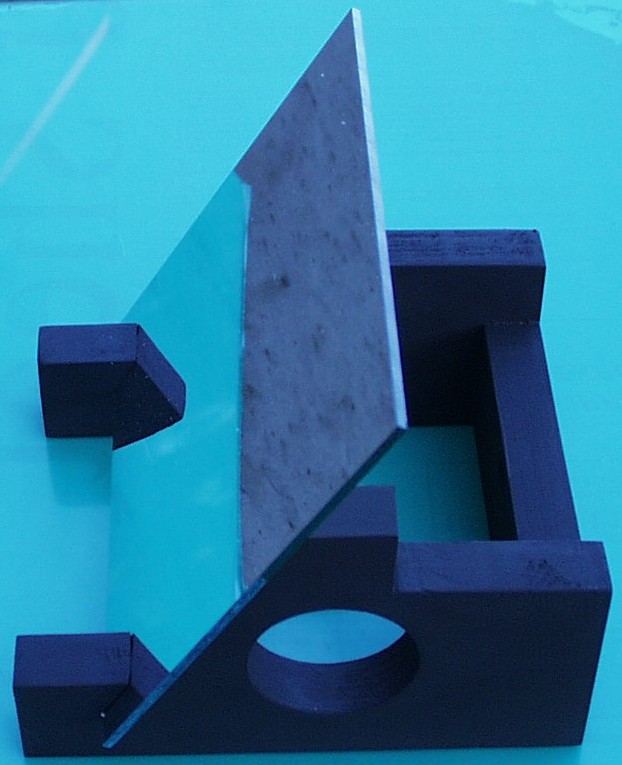
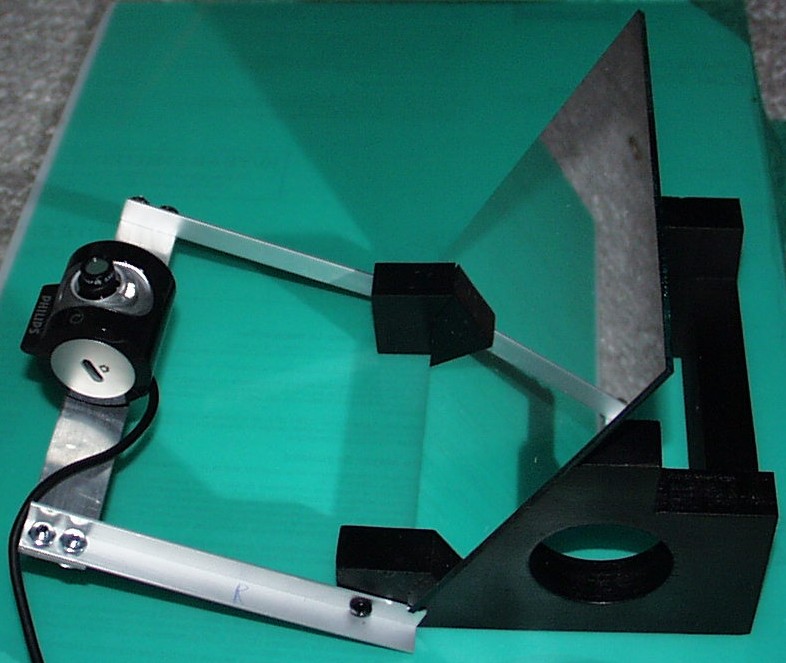
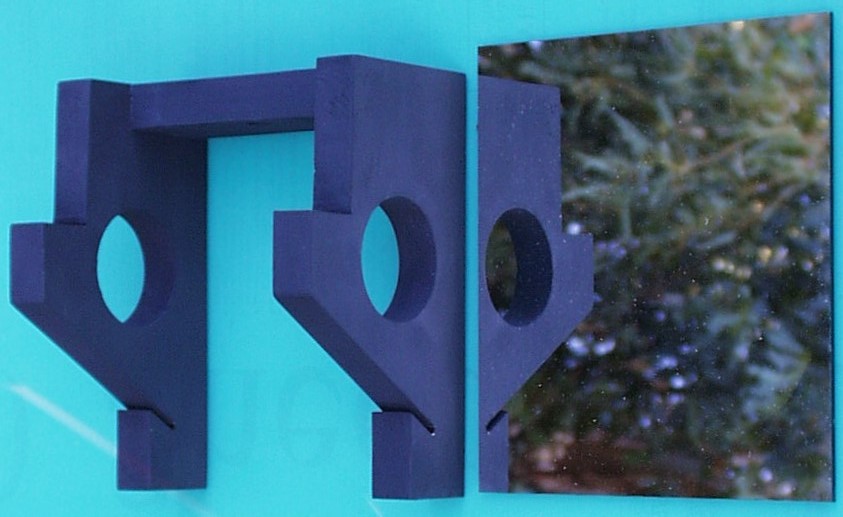
I am bouncing the projector image off of a small front surface mirror I picked up on eBay. The FS mirror gives a very clean picture. I tried a regular mirror, but I was getting a shadow. I built a small wooden mount to hold the mirror and an adjustable aluminum arm to hold the camera. I’m using a Philips SPC 900 camera with the IR filter removed and an 855 nm CWL 40 FWHM 12.7 mm bandpass filter.
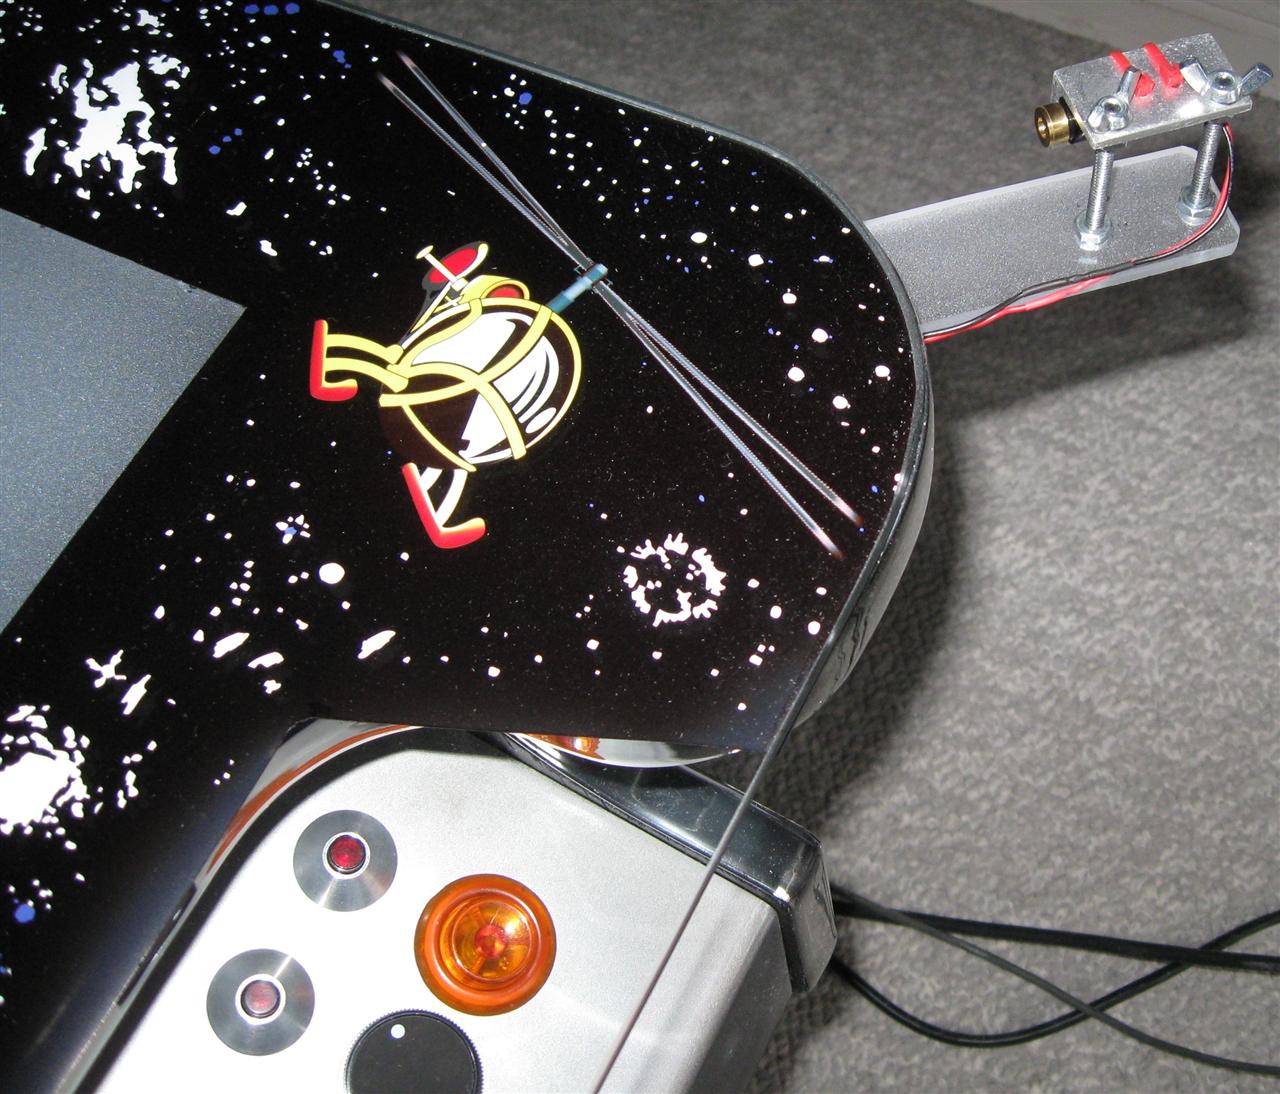
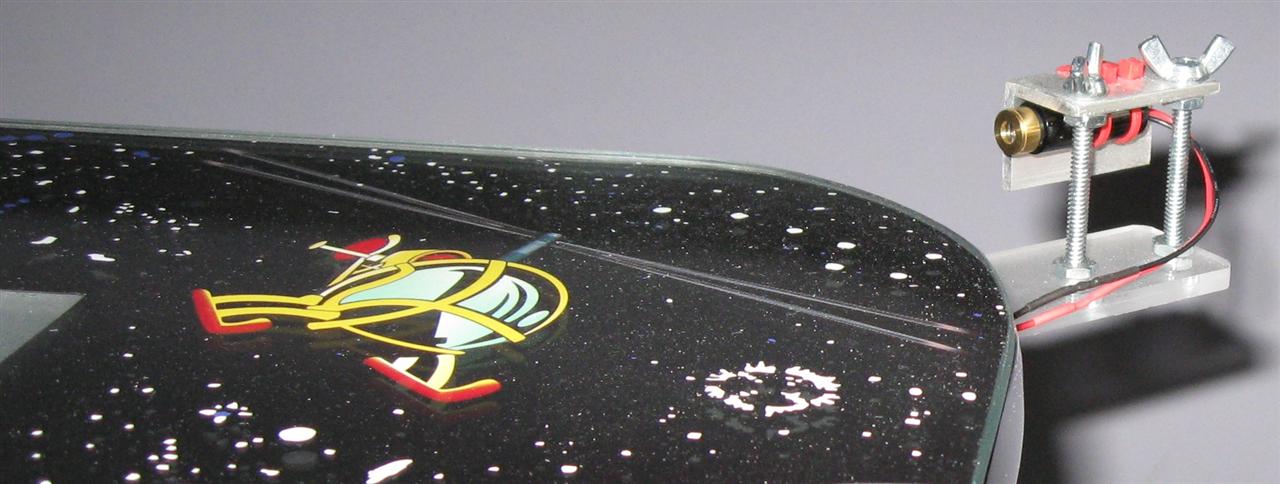
The table employs a technique called LLP (Laser Light Plane Illumination). 850 nm lasers fitted with line lens are mounted on top of the table to project a light plane directly above the screen. A finger touching the screen reflects the laser light down toward a webcam mounted inside the cabinet. A filter is used on the webcam lens to limit the light spectrum to a narrow band near the laser bandwidth. Tbeta open source cross platform software (which is now CCV) processes the light blobs created by finger presses to perform multi touch recognition.
The first volcano button on the CP toggles power to the 2 lasers and illuminates to indicate that the lasers are hot. I had just enough blue laminate left over from Rototron to replace the original ugly chipped wood grain laminate. Even with my IR Stripper, it was very difficult to remove the laminate. It was also very time consuming to put on the new laminate. The rounded corners on the cab prevented me from using a flush trim router and required the laminate to be cut and placed very precisely.
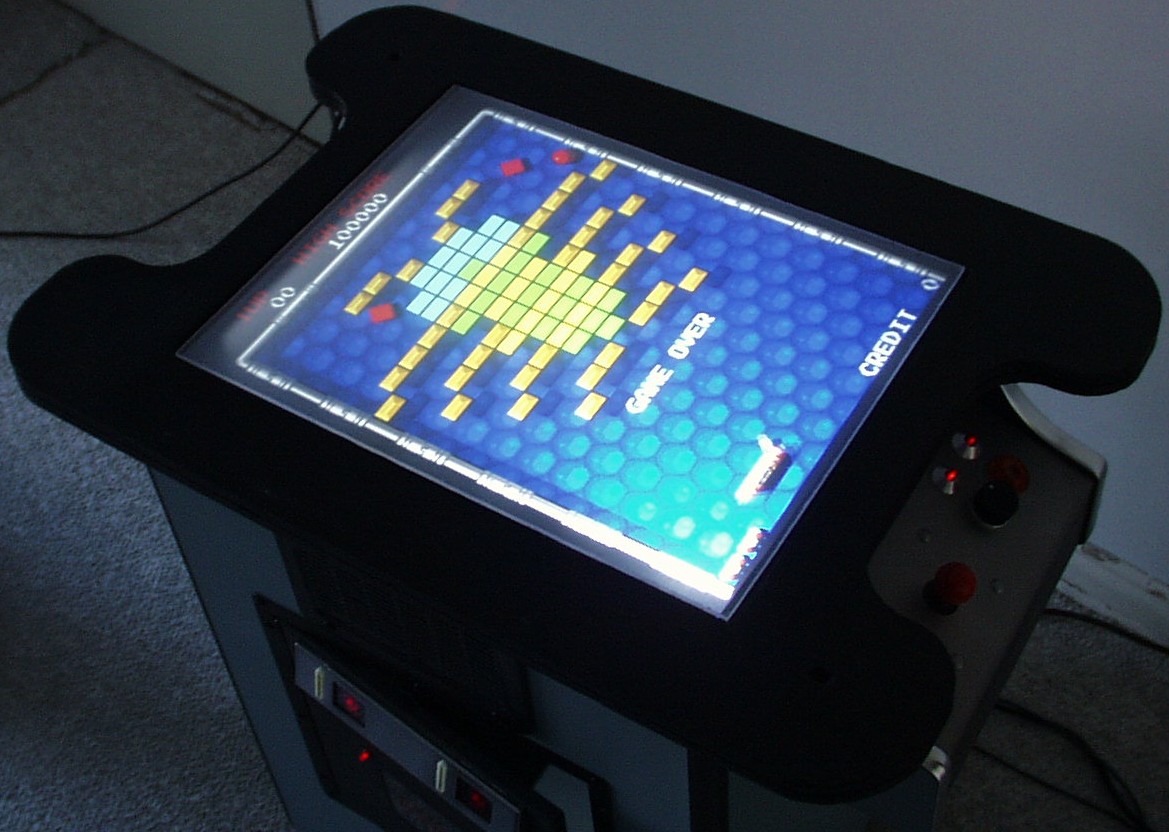
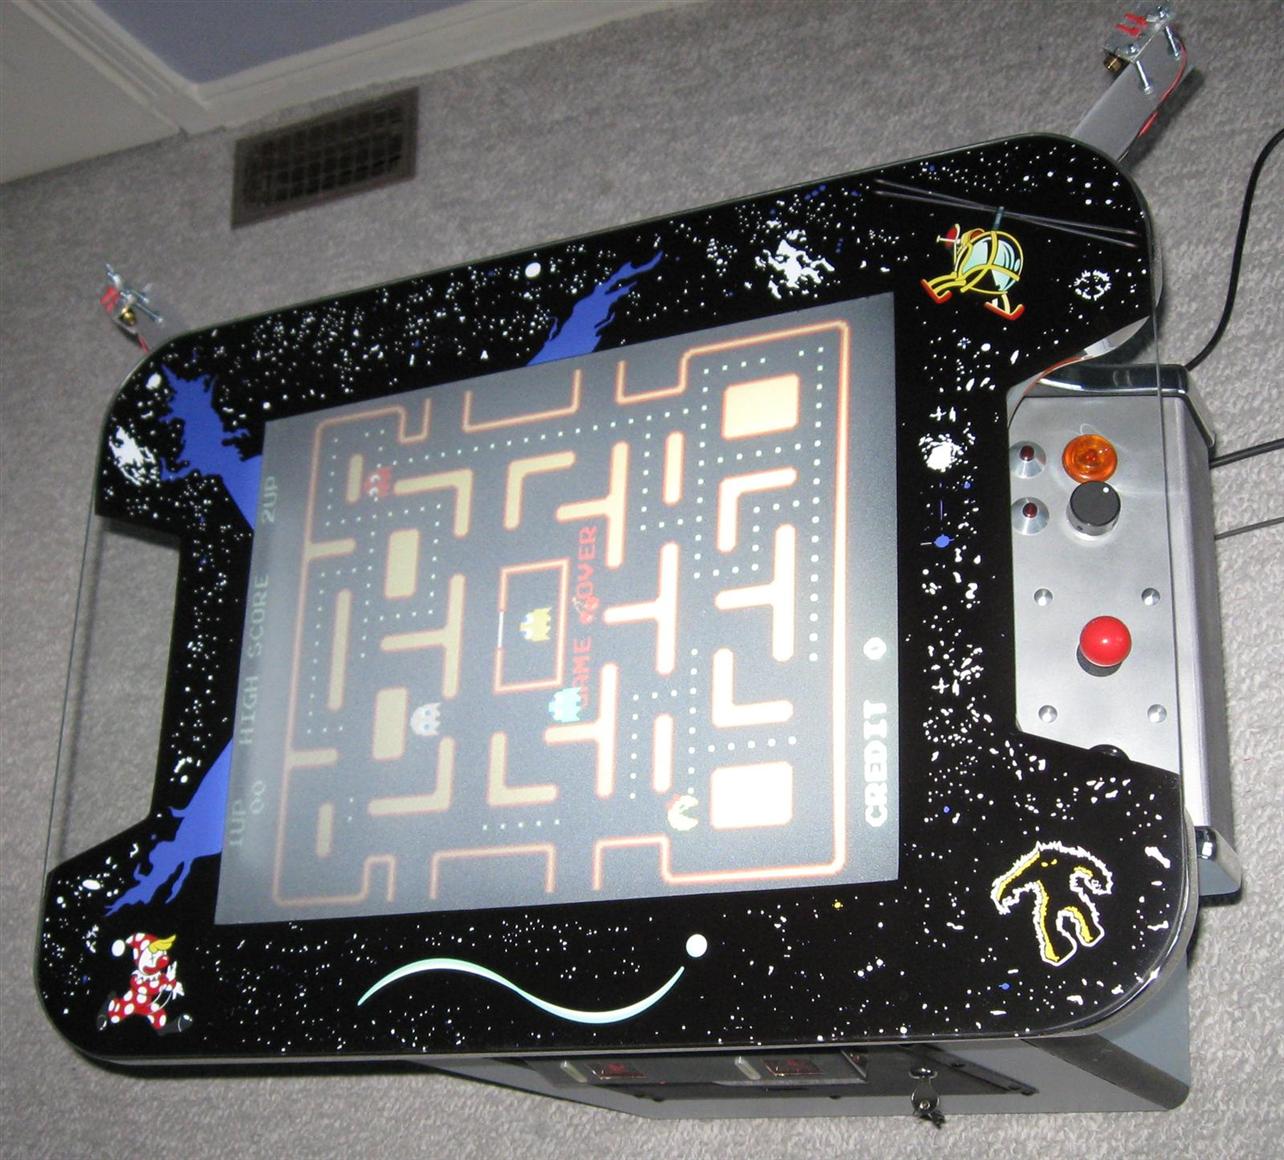
Here is a shot of Arkanoid. I am projecting the display on 1/4″ acrylic which I HVLP sprayed with rear projection Screen Goo.
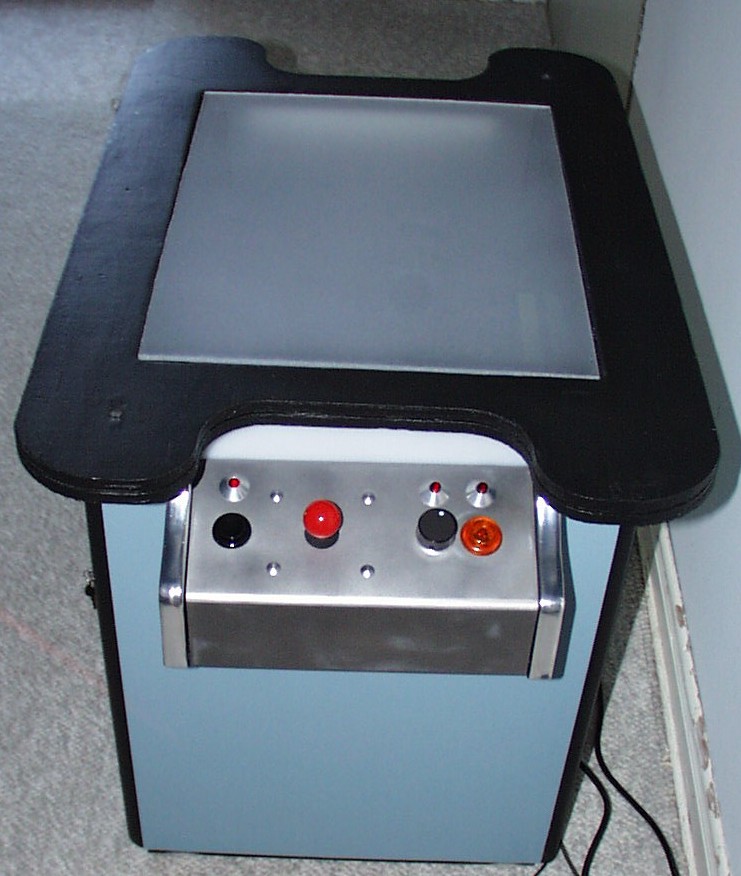
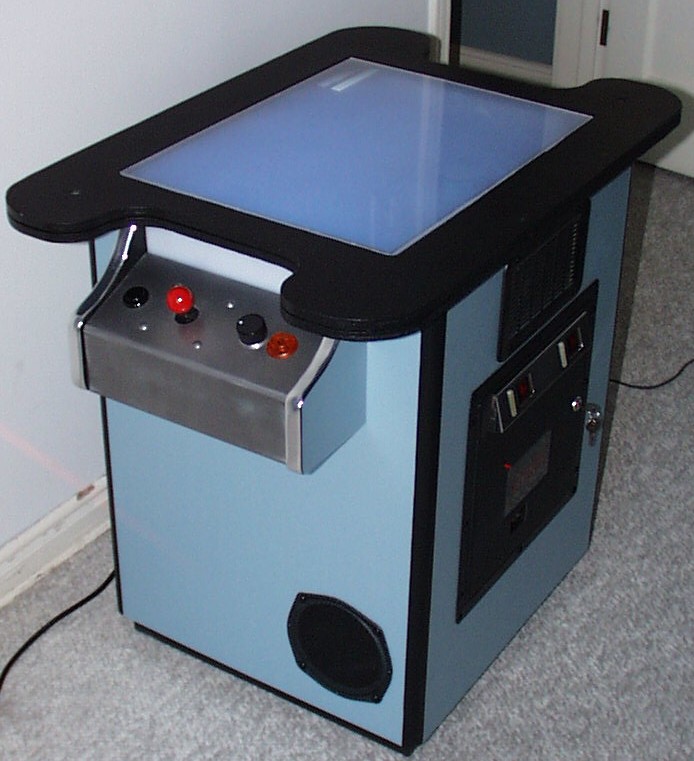
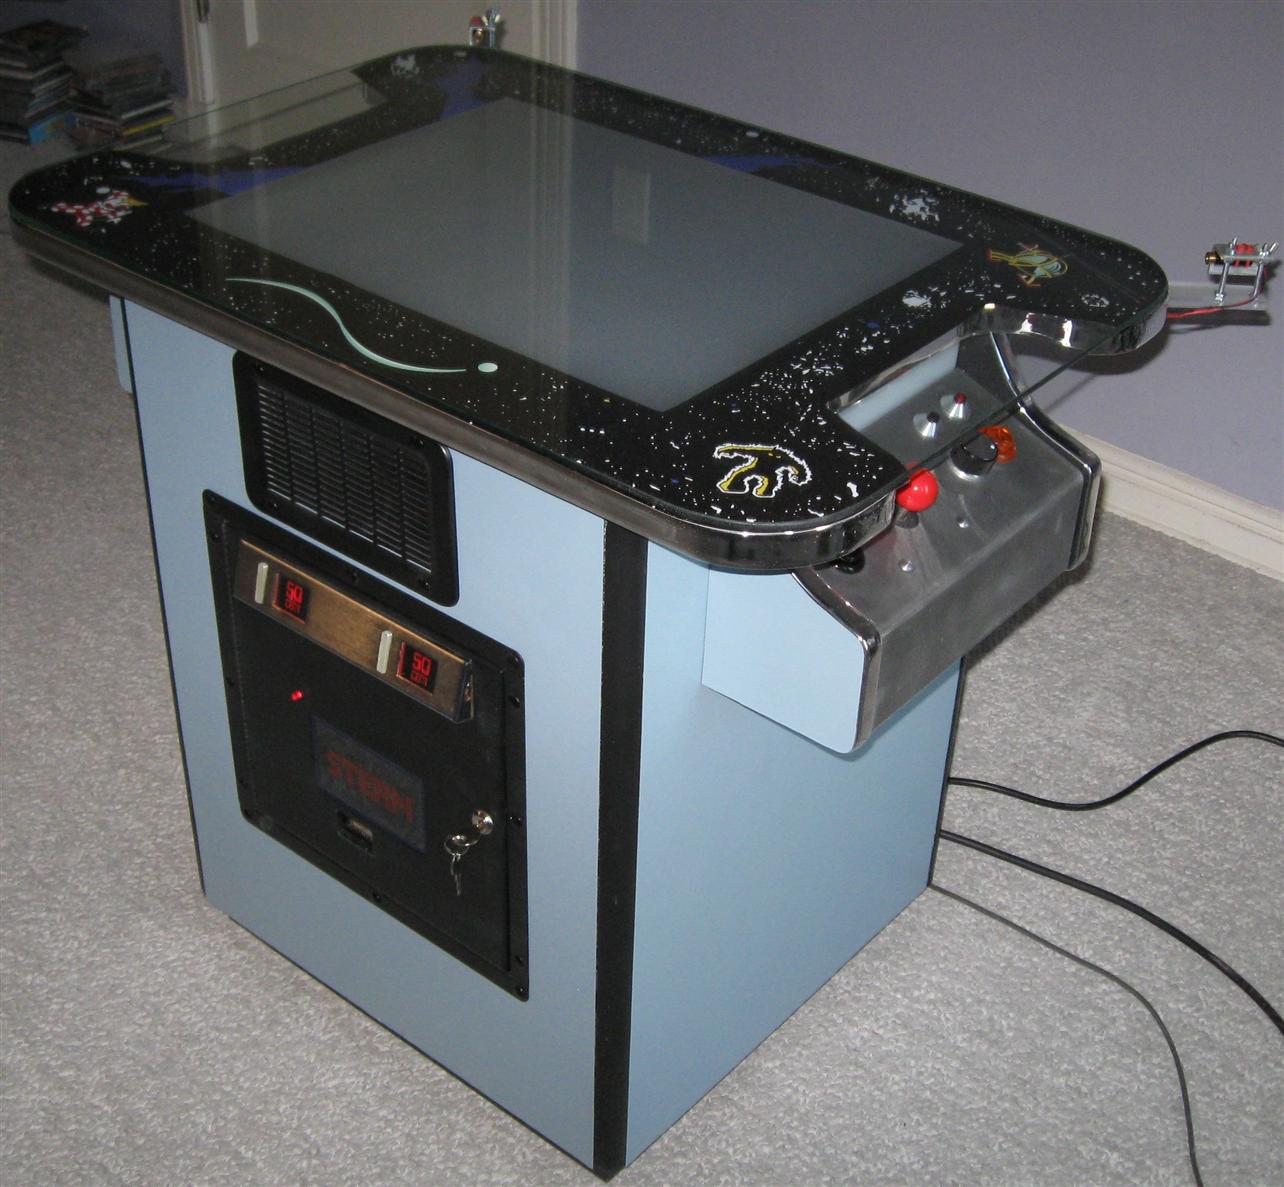
Here is the completed table with artwork. I replaced the 1/4″ glass top because the original was terribly scratched. I also added chrome T-molding around the top and CP’s.
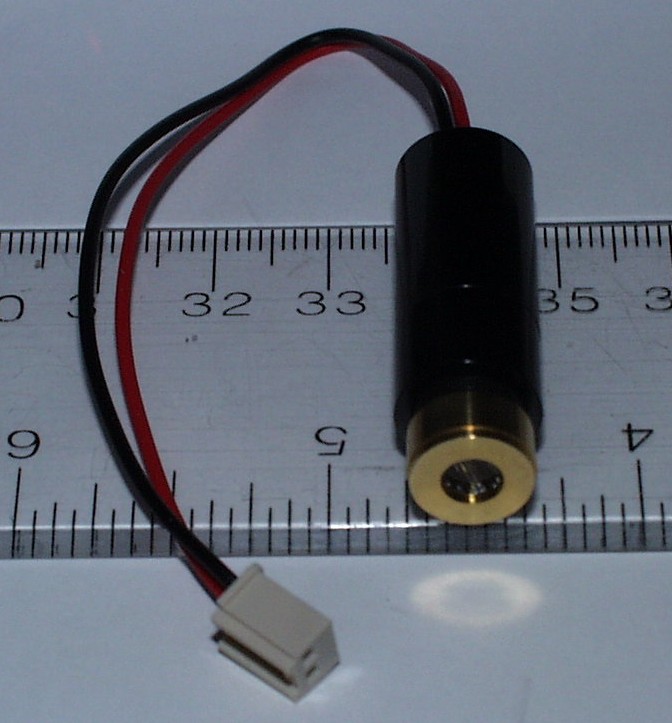
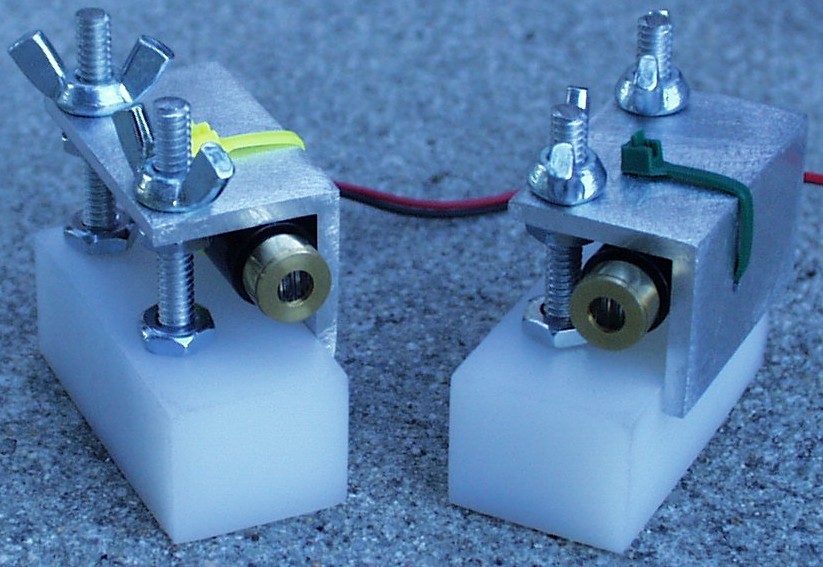
Here are the 850 nm 3 V IR laser modules. I built adjustable mounts out of angle aluminum.
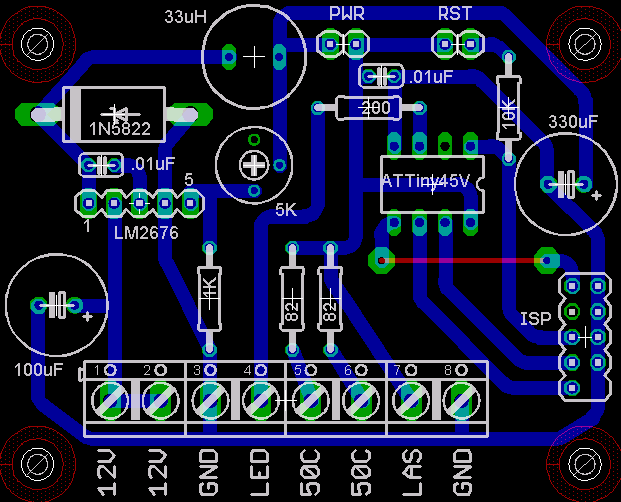
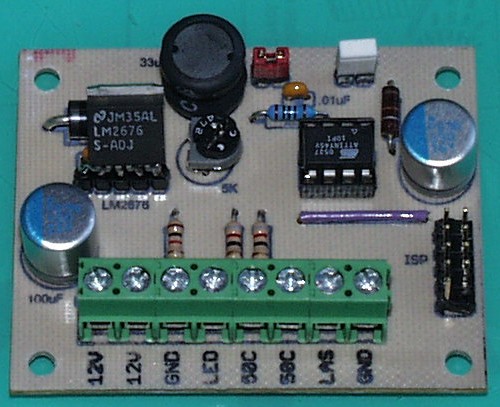
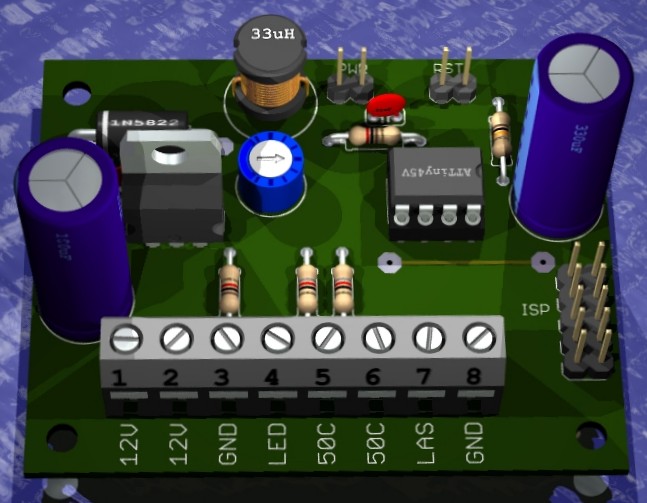
I also built an efficient switching power supply for the lasers. It also fades the LED on the coin insert button and provides power for the audio amplifier, coin inserts LED’s and the case fan. I am using a surface mount adjustable LM2676 that I salvaged. I soldered it to a 5 pin header so I could use it through hole.
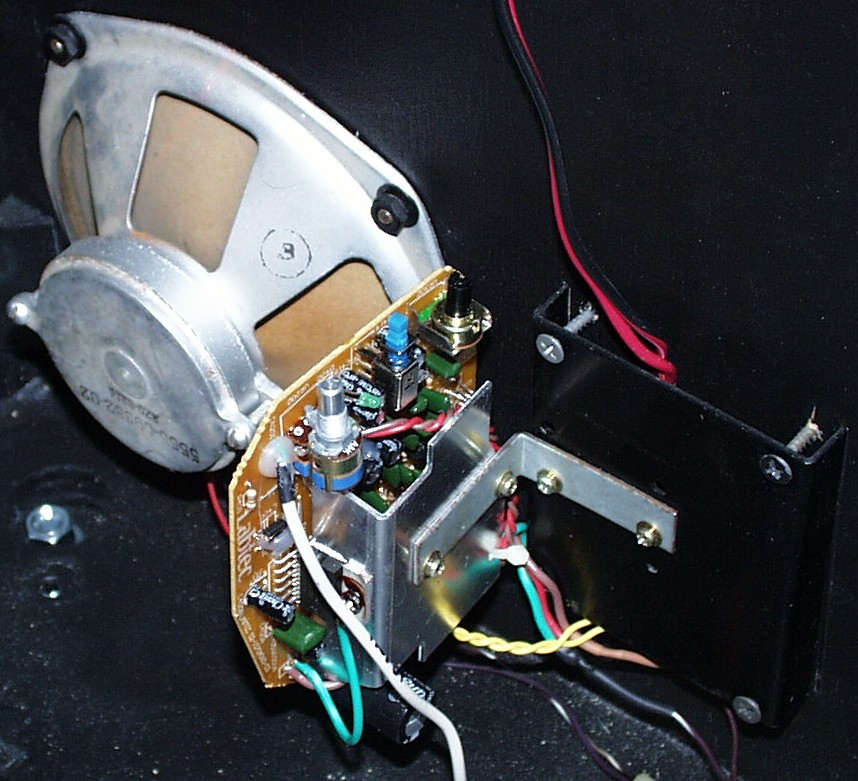
The old amplifier board was very distorted and plagued by interference. I replaced it with a board from a pair of old Labtec speakers.

Thanks to everyone at the NUI Group.
Downloads:
Hex code v.1.0 – Released 10/15/2008 – For ATTiny45V