
I needed a small portable timer. It would have been easier to buy one, but lately my philosophy has been why buy what you can make. Besides, I had most of the parts lying around. The timer counts up to a maximum time which is set with a rotary encoder. There is an adjustable buzzer and an LED to signal a timeout.

I used CadSoft Eagle to create the main board. I am using an Atmel ATTiny26L for the uC. It doesn’t use much battery power, supports ADC and it has just enough pins. The lack of a 16 bit timer is inconvenient, but the 8 bit works with a few extra steps. I had to make the board small to fit the 85mm x 35mm cast aluminum project box. I placed the AVR partially under the display to save space.
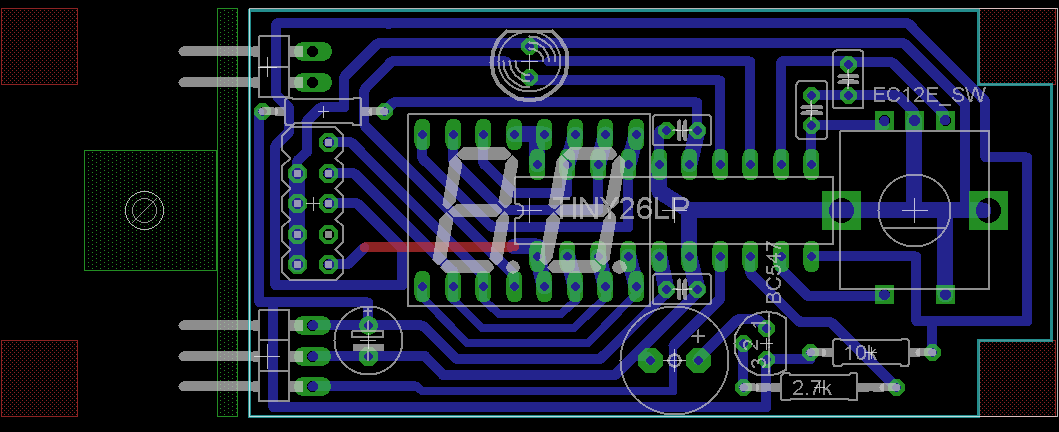

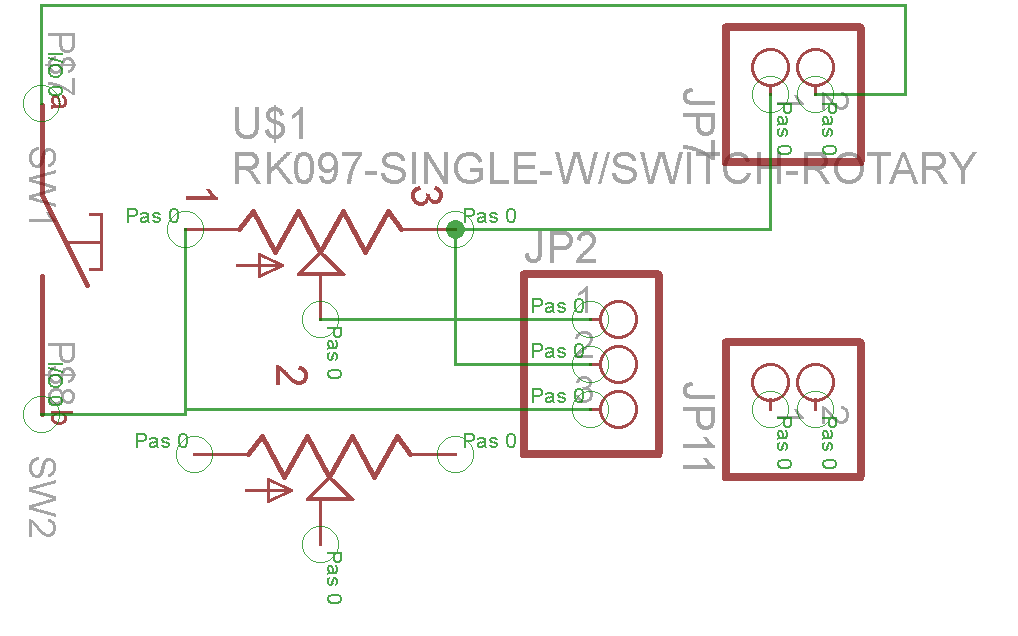
I didn’t have any vertical mount potentiometers, so I had to make a daughterboard to hold a pot w/ switch mounted perpendicular to the main board. The pot controls the buzzer’s level and its rotary switch turns the timer off and on. I salvaged the pot from some broken computer speakers. It is soldered to the main board with 5 right angle pin headers.

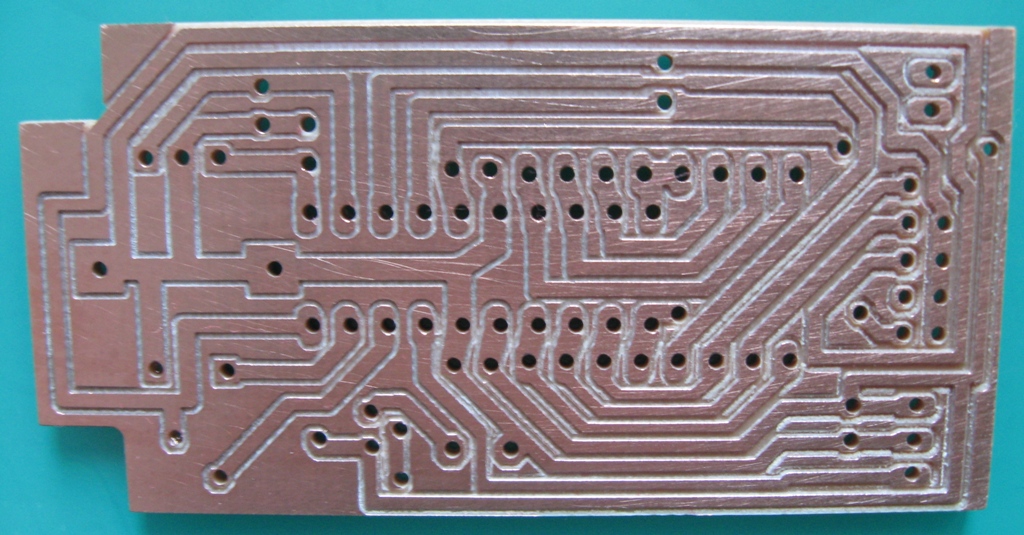
I used PCB-GCode to convert the Eagle board into g-code for the CNC control software. Not my best milling. I need to get better quality v-bits and some smaller drill bits. Still everything works.
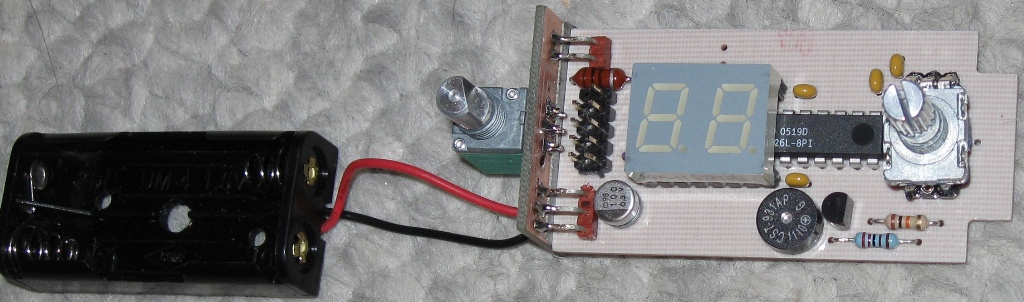
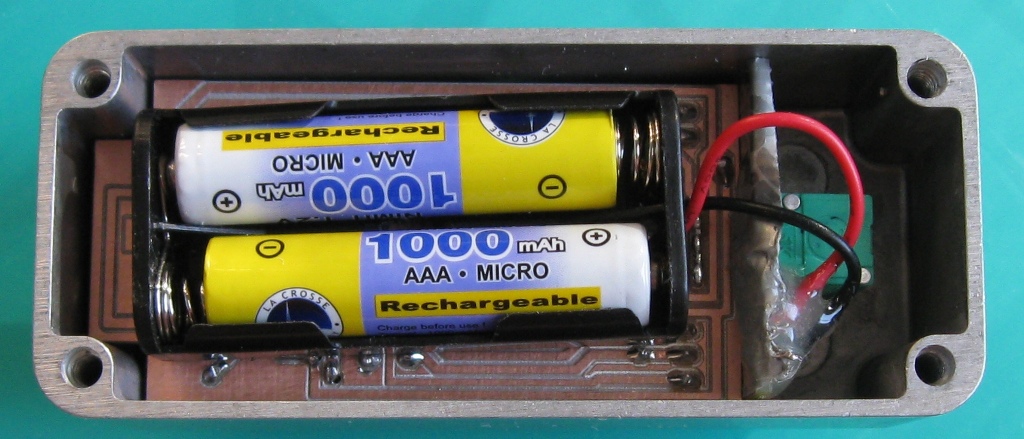
The assembled boards. I’m powering the timer with 2 AAA batteries.
Here is my Romaxx HS-1 cutting the holes in the cast aluminum enclosure for the LED display and the knobs. I used a 45″ v-bit to cut the holes. I wanted a subtle bevel around the LED display. It took a long time, but the results are good. The diecast aluminum is much harder to cut than the more common 12 gauge aluminum project boxes.
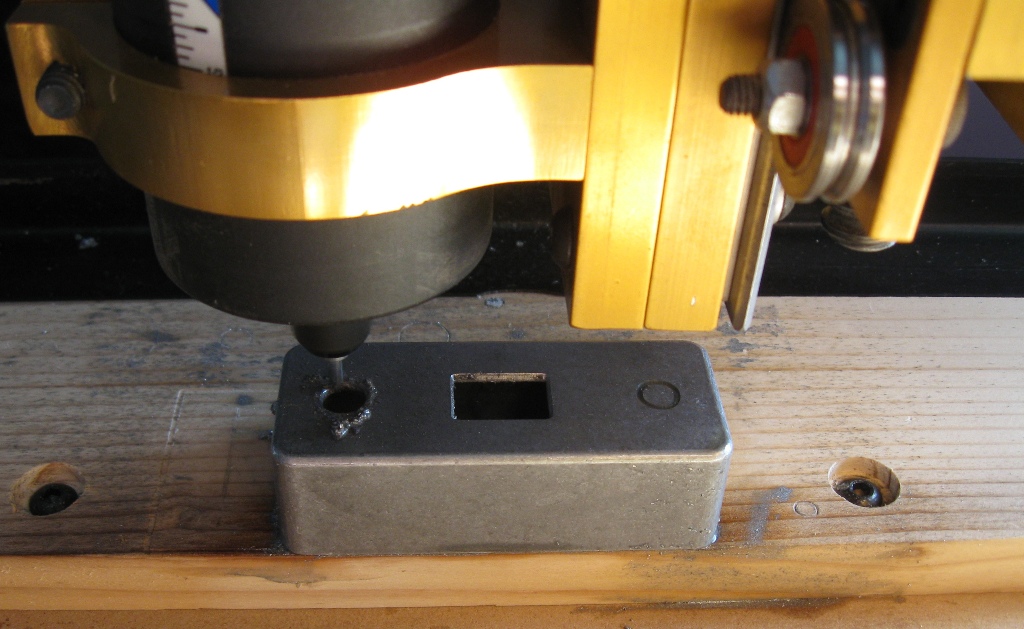
The finished enclosure. It would have been hard cutting the rectangular opening without the CNC.

It’s a perfect fit. The cover just barely closes. 4 screws provide easy access to the 2 AAA batteries.
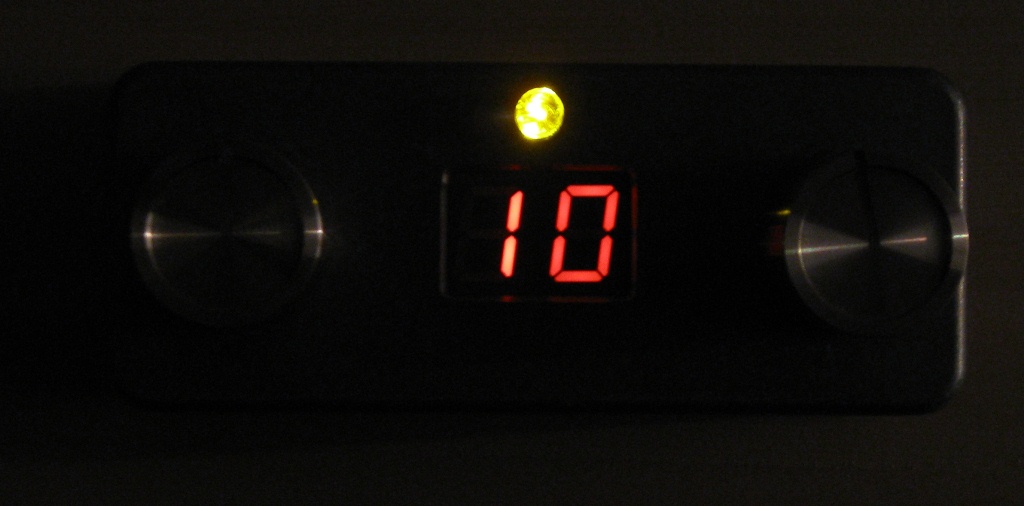
I found some vintage solid aluminum knobs for the controls. The left knob is the on/off and buzzer level. The right knob is a rotary encoder to set the timeout. The encoder also has a momentary pushbutton which starts and stops the timer. The orange LED illuminates along with the buzzer which can be turned off. I was going to powder coat the case white, but I think the aluminum looks good.

The AVR code was written using Bascom by MCS Electronics which conveniently has native support for quadrature encoders.
Downloads:
AVR source & hex code – 11/16/2010 (for ATTiny26L running at 1 MHz)
Eagle files.
VCarve Pro files for enclosure and board cut out.
Parts List:
| Description | Qty |
|---|---|
| Atmel ATTiny26L-8PI | 1 |
| Kingbright DC04-11EWA LED Display Dual Digit Red | 1 |
| CUI ACZ11BR1E-20KQD1-20C Rotary Encoder w/ Switch | 1 |
| CUI CST-931AP 9 mm Magnetic Buzzer 2-4 V | 1 |
| 5 mm Orange LED 12,000 mcd | 1 |
| Richco LEDS2E-6-01 LED Spacer 9.5 mm Length | 1 |
| Potentiometer 5 KΩ w/ Rotary Switch | 1 |
| Resistor Carbon Film 10 KΩ 1/4 W | 1 |
| Resistor Carbon Film 2.7 KΩ 1/4 W | 1 |
| 10μH Axial Inductor | 1 |
| Ceramic Radial Capacitor .1μF 50 V 10% | 4 |
| BC547 NPN Transistor | 1 |
| Polarized Radial Capacitor 100μF 6.3 V | 1 |
| 5 x 2 Pin Straight Header .100″ | 1 |
| 3 x 1 Pin Right Angle Header .100″ | 1 |
| 2 x 1 Pin Right Angle Shrouded Header .100″ | 1 |
| 3 x 1 Socket Straight Header .100″ | 2 |
| 8 x 1 Socket Straight Header .100″ | 2 |
| Dual AAA Battery Holder | 1 |
| Hammond 1590A Diecast Aluminum Project Enclosure | 1 |
| Alco Solid Aluminum Knobs .75″ Diam. .5625″ Height 1/4″ Shaft | 2 |
| Single-sided Copper Clad Board 1 oz. 68 mm x 35 mm” | 1 |
| Single-sided Copper Clad Board 1 oz. 35 mm x 22 mm | 1 |