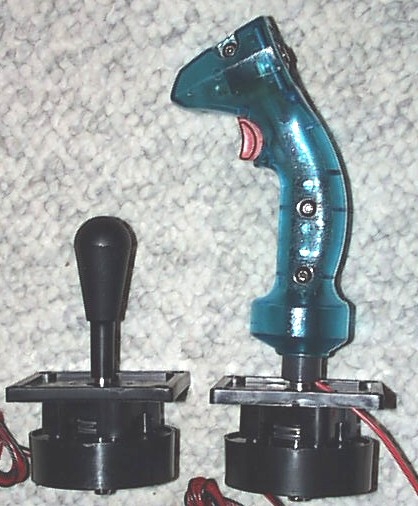
Here is a before and after shot of my Perfect 360 Tron joystick. On the left a standard P360 joystick. On the right a P360 with a Tron handle grafted on. I scanned the P360 Assembly Instructions in PDF if anyone needs it.
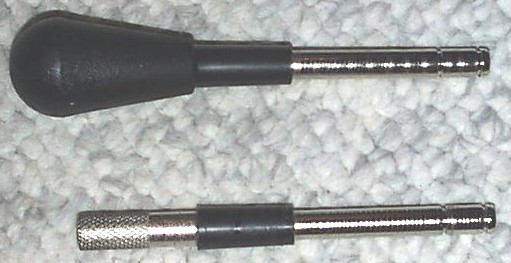
There are only 2 modifications necessary to perform this conversion. The first step was to remove the plastic grip from the top of the original P360 handle. This was difficult. I tried several methods: knife, hacksaw, Dremel, but finally turned to my router. The handle plastic is designed to withstand serous abuse; however, the router ate up the plastic in seconds. I was very careful not to allow the bit to hit the metal. I left the small black cylinder of plastic on the shaft just below the main grip.
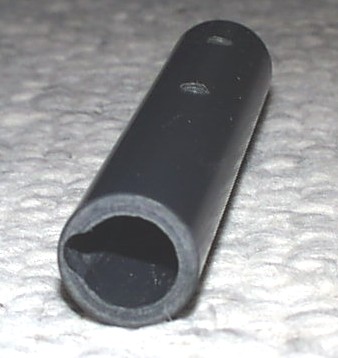
Next I was inspired once again by 1UP. On his cab he uses a sprinkler riser to build his own Tron joystick. I initially thought I would use a metal pipe, but build a prototype with a riser. However, the riser worked so well that there was no need for a metal version. I cut the riser and tapped out 2 holes on each side for the Tron grip retaining bolts. I used the standard security torx found on the real Tron machines. Next I used a cordless drill to bore out a small channel inside the riser for the button wiring. The channel only extends for about an inch to allow the wire to clear the black cylinder on the P360 shaft. The P360 shaft with the black cylinder fit perfectly into the riser and the channel was just big enough to allow a 4 conductor wire. I used a piece of 4 conductor fire rated security wire. I had a big box of this wire left over from my home alarm installation
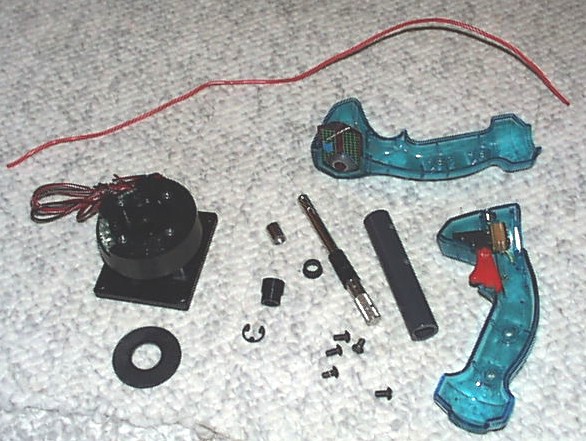
I picked up real Discs of Tron translucent blue handles and the trigger assembly on Ebay. The handles are in very good shape. The only problem was that the LED in the front button was burned out. Unfortunately, the LED on the Discs of Tron front button is soldered to pins that are molded into the plastic of the switch. Also the switch case is sealed with rivets. First I drilled out the rivets. Next, I had to heat up the LED pins with a soldering iron and then carefully extract the LED and pins through the top of the switch. That was the easy part. The hard part was replacing the pins after soldering a new LED to them. I did not want to heat them too much, because it would probably damage the LED. I used a surgical clamp to slowly push and pull the pins back through the melted plastic. Finally, I don’t have any rivets so I sealed the switch back up with some electrical tape. The switch could also have been sealed with some very small bolts. It works great. Unfortunately, I had to redo the procedure because I used a super bright LED that was too bright and consumed more power than my I-Pac could handle. I ended up using a regular red LED, which wasn’t as blinding and could be powered by the keyboard encoder. Here are all the pieces before assembly.
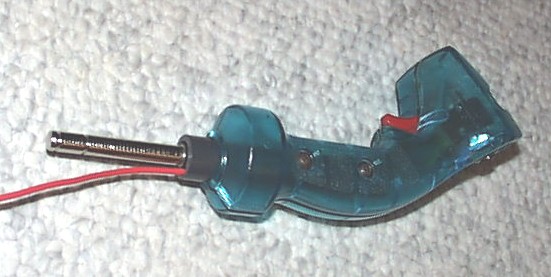
Here is the new handle assembled. The 2 security bolts on each side holds the blue handles to the riser and also locks the P360 shaft in place. The red cable coming out of the bottom has 4 wires (trigger, front button, LED & ground).
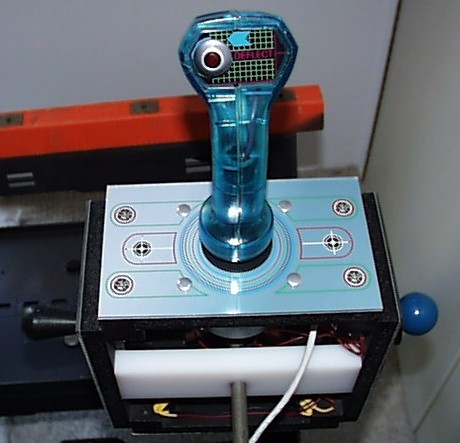
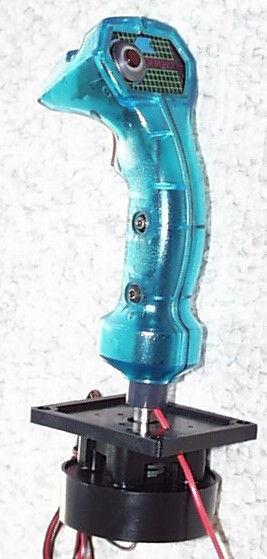
Here is the completed joystick. I drilled a small hole in the joystick base to route the red cable. The joystick operates very much like an original Tron joystick, but instead of a giant heavy leaf switch base, I have a very compact reliable assembly that will easily fit into my rotating control panel design.
Here is the joystick mounted on my square rotating panel.
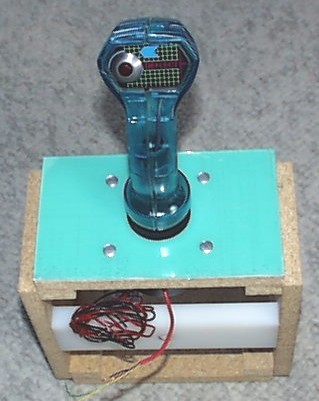
Mounted with artwork.