I modified an existing Robotron marquee Illustrator file to come up with my artwork.
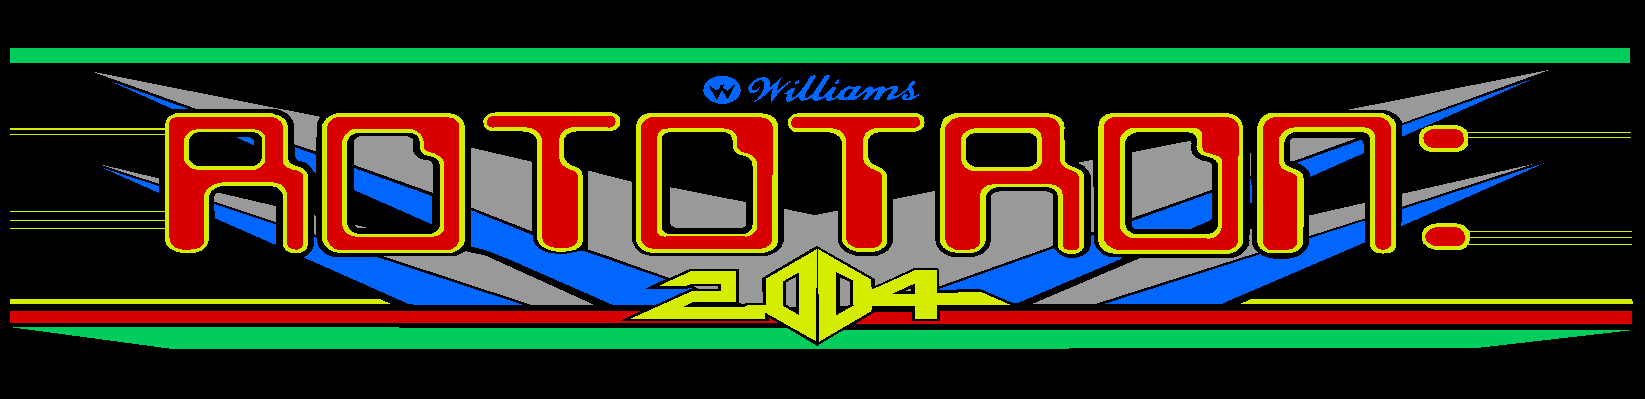
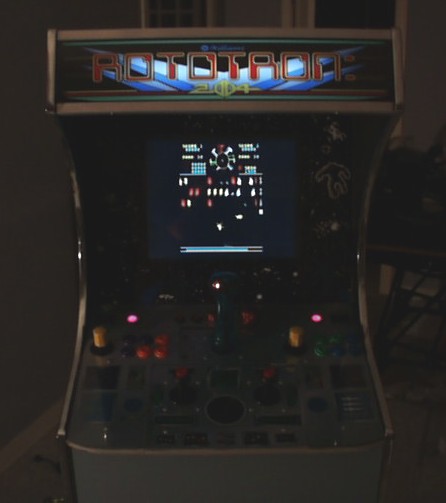
The size of the marquee is about 24″ x 5.5″. The artwork was printed by Mame Marquees. They did a great job and I would recommend them to anyone in search of a printer.
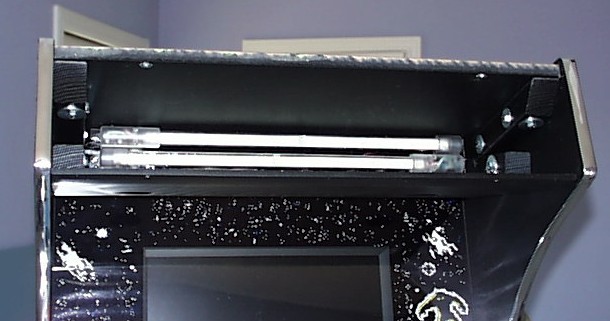
Fluorescent lights work great for illuminating marquees, everyone uses them and they are cheap. Still, I really hate fluorescent lights. They can flicker, they can be noisy, they can interfere with electrical equipment, they require 110V AC and they are probably not very healthy. Therefore, I decided to go the LED route. I picked up two 18″ LED bars from a local custom car shop.

The bars are 12 volts and use about 250mA. I am able to power them with the same AC adapter that I am using for my coin door lights and my rainbow buttons. Each bar consists of 16 super bright white LED’s. The LED’s are powered in series so one end tends to be brighter than the other. Therefore, I placed the 2 lights in opposite directions with the lights staggered to compensate. They do an excellent job of lighting the marquee, but are probably not as bright as a fluorescent. However, since my cab is only 5.5 feet tall, I did not want a bright light glaring in my face.
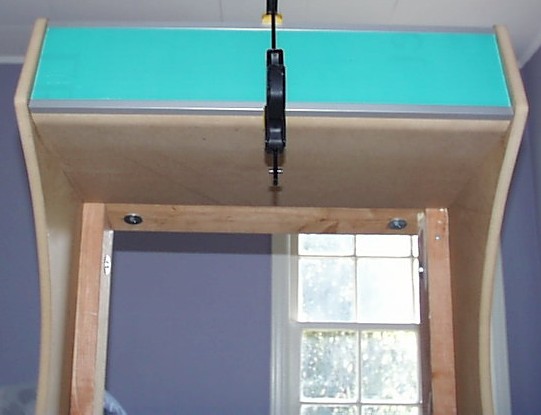
I used two 3/4″ aluminum L brackets to retain the marquee. The brackets are inexpensive, available at any hardware store and easy to cut. I had originally tried 1/2″ brackets (shown below), but they were not long enough to accomodate the 2 pieces of plexi that I used to sandwich the artwork. The brackets came covered with scratches. I used a random orbit sander to clean up the finish. I had to round the lower MDF piece below the marquee to make the edge parallel to the top piece. This was also done with a sander. The brackets are fastened with T-nuts and snake-eye bolts.