
LCDProc is an open-source system for displaying information on LCD displays. It has drivers for many different types of displays which can be interfaced via serial, USB, I2C, LPT and Raspberry Pi GPIO. There are built-in methods to place text, scroll titles, draw bars and display large fonts.
You can install using apt-get install lcdproc, but I recommend you manually install to get the latest version which for now has better Raspberry Pi support. Currently apt-get install only has version 0.5.5. You can use the –s argument with apt-get install to perform a simulated installation and check the version. For this tutorial you will need at least version 0.5.7.
Use wget to download. Please check SourceForge to see if a newer version is available. If so, you would change 0.5.7 to the newer version number. After downloading extract the tar and cd to the folder:
cd ~
wget http://sourceforge.net/projects/lcdproc/files/lcdproc/0.5.7/lcdproc-0.5.7.tar.gz/download -O lcdproc.tar.gz
tar xzf lcdproc.tar.gz
cd lcdproc-0.5.7
There are many configure options available. Use the –help argument with ./configure to get a list:
./configure --help
Since there are a ton of drivers, I’m only going to install the ones I need which are Crystal Fontz and hd44780. The latter allows connecting an LCD display directly to the Pi’s GPIO. There is an ‘all’ option if you want to install every driver. The enable-seamless-hbars argument allows horizontal bars to be drawn without gaps (assuming your display supports no gaps.) After ./configure, use make and sudo make install:
./configure --enable-seamless-hbars --enable-drivers=CFontz,CFontzPacket,hd44780
make
sudo make install
I’ll be demonstrating 2 LCD devices The first is a Crystal Fontz 634 USB 4×20 LCD display. Power and communication is handled by a single USB cable that can be plugged into any of the Pi’s USB ports.
LCDProc is a client/server application. The server daemon handles all commands to the LCD display. Clients can connect to the server and submit screens to be displayed. Multiple clients can simultaneously connect to the server which will cycle through all the screens. Before starting the server, there are settings that need to be specified. The USB port number for the Crystal Fontz display can be obtained using dmesg (ttyUSB0 is returned):
dmesg | grep tty
[8.456789] usb 1-1.5: FTDI USB Serial Device converter now attached to ttyUSB0
The install paths can vary so the whereis command is used to determine the location of the LCDd.conf server configuration file and the driver path:
whereis LCDd.conf
LCDd: /usr/local/sbin/LCDd /usr/local/etc/LCDd.conf
whereis lcdproc
lcdproc: /usr/local/bin/lcdproc /usr/local/etc/lcdproc.conf /usr/local/lib/lcdproc
In this case the settings file is located at /usr/local/etc/lcdproc.conf and the driver path is /usr/local/lib/lcdproc/. Also note the path of the LCDproc client settings file which we will use later: /usr/local/etc/lcdproc.conf. Use nano to open the LCDd.conf file for editing:
sudo nano /usr/local/etc/LCDd.conf
The following general entries will be modified. The driver path is the lib path returned by whereis lcdproc. Driver is set to CFontz because I’m using an older Crystal Fontz 634 display. Newer Crystal Fontz displays will probably use the CFontzPacket driver. By default LCDProc displays a server information screen with the number of clients and screens. Setting ServerScreen = off, causes this screen to only be displayed if no other screens are present.
DriverPath=/usr/local/lib/lcdproc/
Driver=CFontz
ServerScreen=off
In addition to the general settings, each driver has a separate configuration section below in the LCDd.conf file. For CFontz, device is set to the USB port number determined above. Contrast and brightness can be configured to suit your environment. The speed is set to the maximum baud rate that the device can handle which is 19200. I found that slower speeds can have noticeable flicker. NewFirmware is specific to the 634 display and my version uses the later firmware.
[CFontz]
Device=/dev/ttyUSB0
Contrast=560
Brightness=750
Speed=19200
NewFirmware=yes
LCDProc comes with a client that is also called lcdproc. It has 16 screens that can been toggled on and off including CPU usage, memory, hard drive space, battery levels, network stats, clocks, etc. You can enable and tweak them by editing the lcdproc.conf file:
sudo nano /usr/local/etc/lcdproc.conf
Before connecting a client you must start the LCDd server:
sudo LCDd
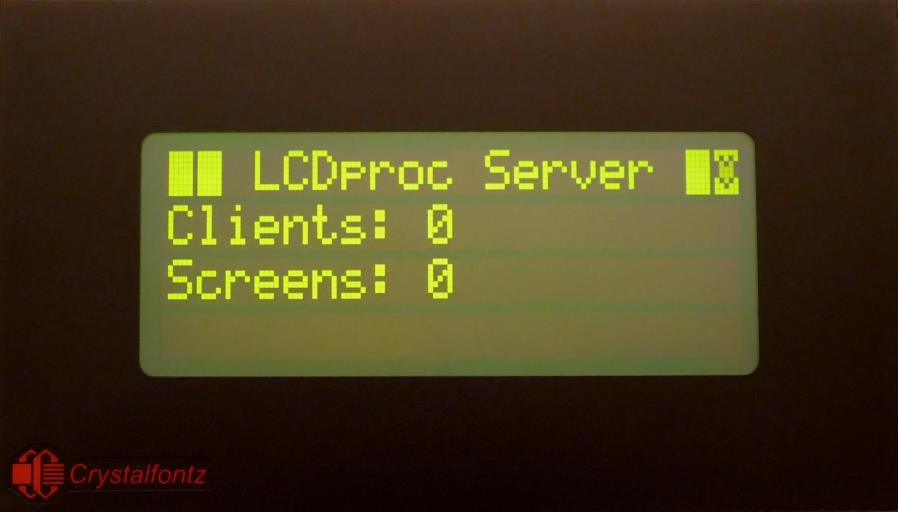
If you installed using apt-get install then LCDd will be a service that you can start using sudo service LCDd start. Once started you should see the LCDProc server screen:
Sudo is also required to run the client:
sudo lcdproc
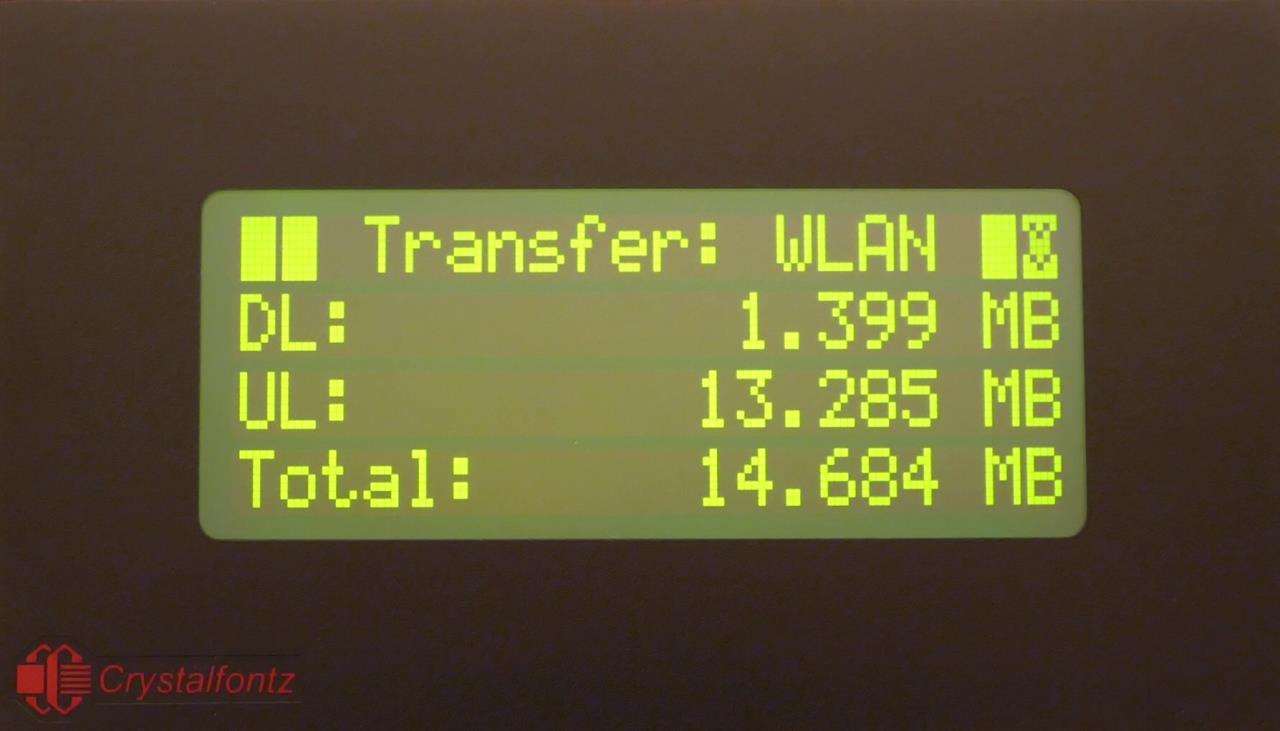
Here’s a pic of the LCDProc client network transfers screen:
The LCDproc client is great if you just need some system info and there are many other 3rd party clients available too. Furthermore, it is easy to write your own client thanks to a handy LCDProc python library also called lcdproc by jinglemansweep. It is simple to install using git and easy_install:
sudo apt-get install python-setuptools
cd ~
git clone https://github.com/jinglemansweep/lcdproc.git
sudo easy_install lcdproc
My python code examples use a DHT22 temperature/humidity sensor. I have a separate tutorial that demonstrates how to wire up the DHT22 and install the necessary drivers.
An LCDProc python program starts by importing the LCDProc server module. Then a server session is instantiated and started. The optional debug parameter allows you to view the telnet communication between the client and server. All data that is displayed must be contained within a screen. Each client can send multiple screens to the LCDproc server. The add_screen() method is used to create a screen. A unique screen name is the only argument. The set_heartbeat() method determines if heartbeat icon will display in the top right corner of the display. The set_duration() method sets the length of time in seconds to display the screen.
# Import LCDProc server module
from lcdproc.server import Server

# Instantiate LCDProc and start session
lcd = Server(debug=False)
lcd.start_session()

# Add screen with 3 second duration and no heartbeat
screenT = lcd.add_screen("TemperatureScreen")
screenT.set_heartbeat("off")
screenT.set_duration(3)
There are 7 methods to add content to a screen. The content is referred to as widgets. The add_string_widget() method adds text at the specified x, y coordinates which are specified in character columns and rows. Each widget must have a unique name which is passed in the ref argument. The title widget displays centered text at the top of the screen with blocks on both sides. Horizontal and vertical bars can be drawn at x, y coordinates and the length is measured in pixels. Several icons are available such as arrows and hearts. A scroller displays scrolling text. The direction argument can be h (horizontal), v (vertical or m (marquee). Number widgets are large font numbers which take up the full display height. The value can only be 0 to 9 or 10 for a dash. Large number widgets, icon widgets and the bar widgets all use custom characters. Therefore, only 1 of these 4 types can be used per screen.
add_string_widget(ref, text, x, y)
add_title_widget(ref, text)
add_hbar_widget(ref, x, y, length)
add_vbar_widget(ref, x, y, length)
add_icon_widget(ref, x, y, name)
add_scroller_widget(ref, left, top, right, bottom, direction, speed, text)
add_number_widget(ref, x, value)
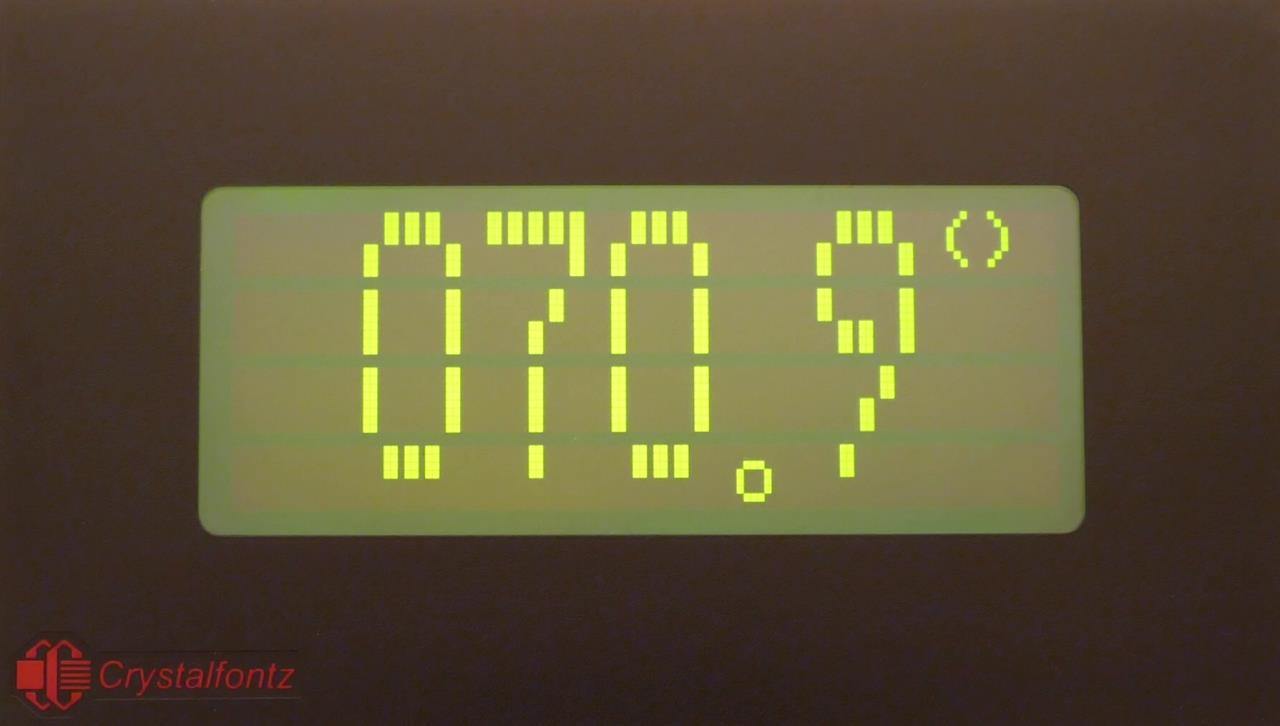
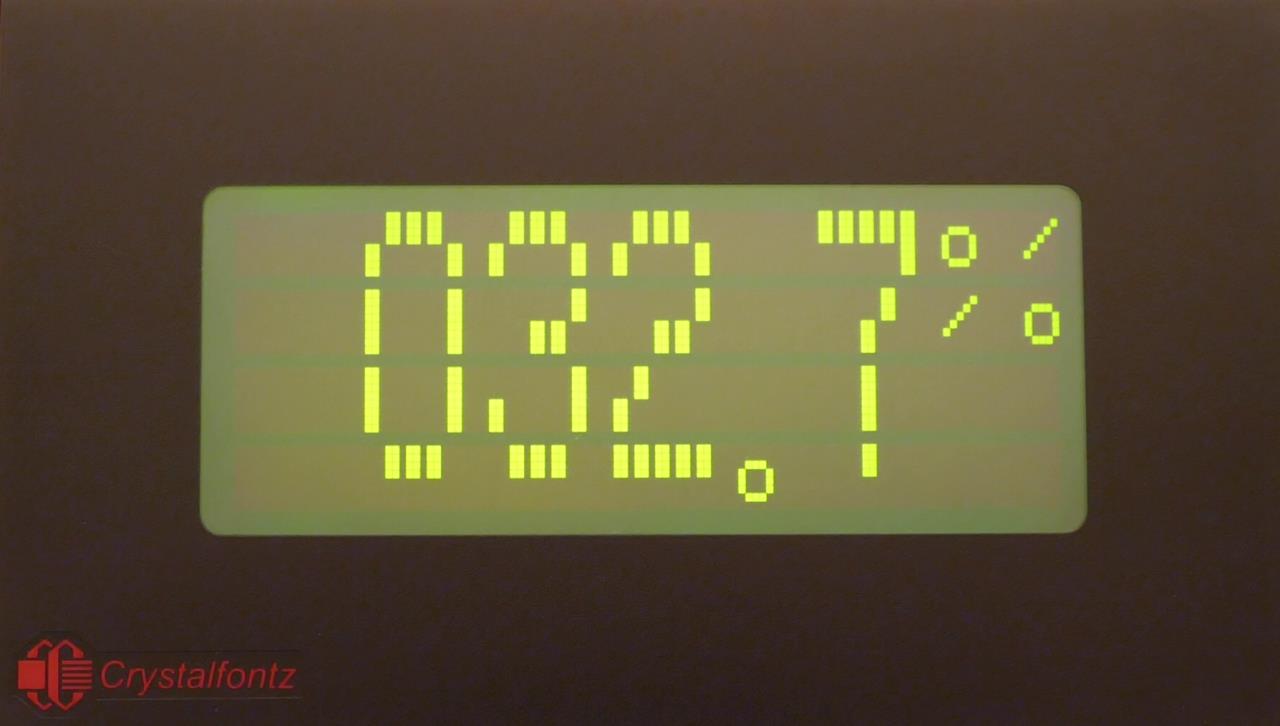
Here are pics of a large number temperature/humidity monitor I created. The code is below.
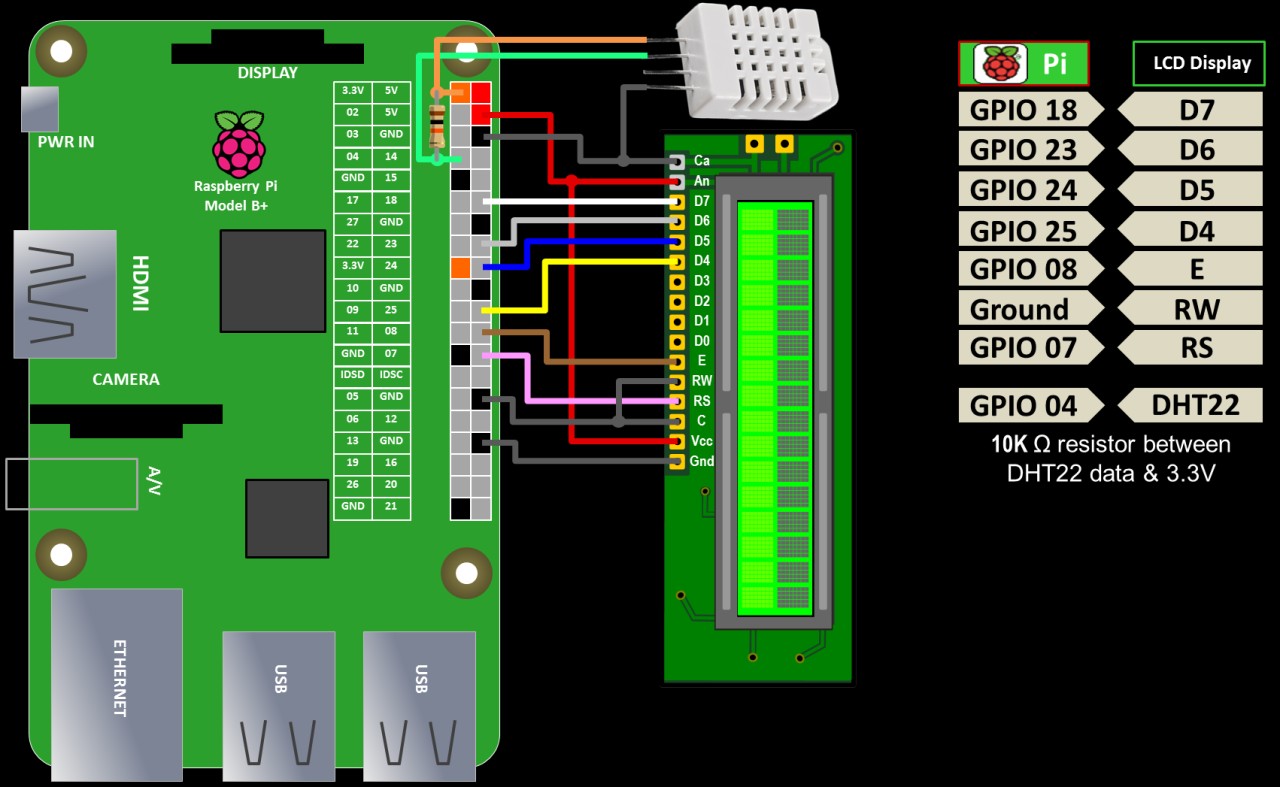
An alternative to the Crystal Fontz USB display is to wire an HD44780 LCD display directly to the Raspberry Pi’s GPIO. Here is the default LCD display pin mapping for the Raspberry Pi GPIO which you can override in the LCDd.conf settings file.
GPIO07 - RS
GPIO08 - Enable
GPIO25 - D4
GPIO24 - D5
GPIO23 - D6
GPIO18 - D7
Here’s a drawing of the LCD display and DHT22 wiring.
In the LCDd.conf settings file change Driver from CFontz to hd44780. This switches from the Crystal Fontz display to the HD44780 display.
Driver=hd44780
Under the hd44780 section change ConnectionType to raspberrypi. Also specify the size of you display.
[hd44780]
ConnectionType=raspberrypi
Size=16x2
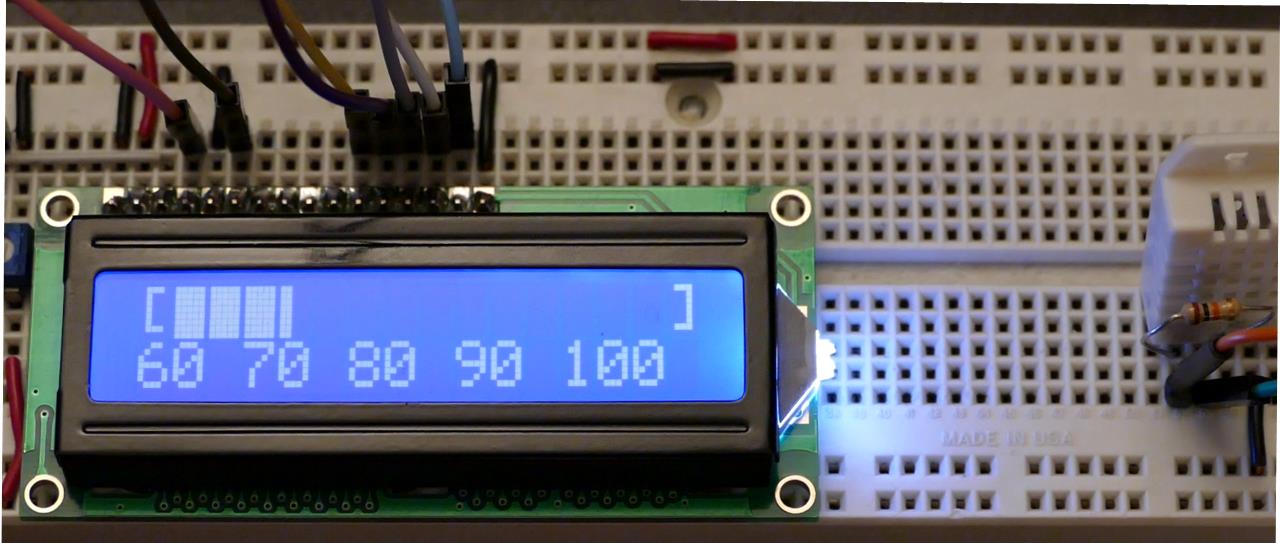
Here’s a pic of the temperature bar graph program I created. It automatically scales to the 16×2 LCD display which is connected to the Raspberry Pi GPIO.
Downloads:
Python code for temperature/humidity large number display and bar graph – 04/23/2015.