
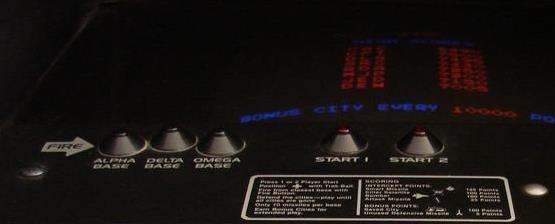
I’ve always like the illuminated volcano pushbutton switches found on early arcade games such as Asteroids and Missile Command.
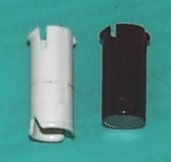
The switches are no longer produced. I’ve been searching for an economical replacement for the volcano switch without any luck. Therefore, my current approach is to build a switch from scratch. The original volcano buttons only came in red but since I would need to cast the lens, I figured I could try different colors. I started by trying to reproduce the button lens shown below.
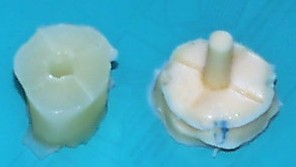
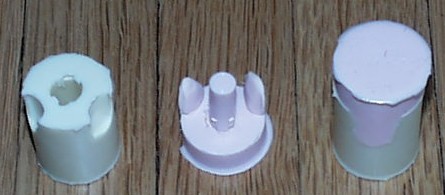
I built a 2 piece silicone mold. The first attempt failed because when the inside of the lens fills with silicone, it acts like a syringe. The lens cap formed a strong vacuum which was doomed to air bubbles and breakage. I inverted the design and added vents in my design below.
Here is my first cast lens in standard Alumilite tan.
A perfect fit.
Now it’s off to the local model train store to order the clear Alumilite and some green dye.
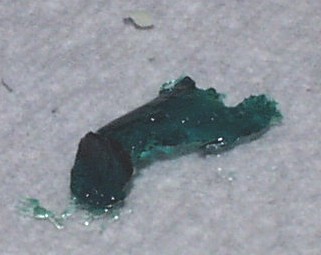
The clear Alumilite is much harder to work with than the regular. You are supposed to use a vacuum chamber and measure the amounts by mass instead of volume. Also the mold is supposed to be heated to 120 degrees. Seeing as I don’t have a vacuum chamber or a precise scale, I just had to wing it. For the temperature, I just put the mold in the microwave for a few minutes. As you can see the first try did not turn out very well.
The hardest part is working with such small quantities. The Alumilte is expensive, so I try my best not to be wasteful. The lens cap only requires about 2 ML of resin. The smallest measuring cup I could find started at 2.5 ML. Furthermore, the dye can’t be more that 5% of weight. The Alumilite resin consists of an A and B resin which you mix together and then must pour within about 90 seconds. I added the dye to the A resin using a toothpick. After several more tries I finally came up with a good mixture.
If you look very closely, you can see very tiny bubbles in the lens. This is the result of not using a vacuum chamber. I don’t see any work around. I guess I might have to add a BYO vacuum chamber to my Projects List.
Unfortunately, my first success with the green was also the end of my mold. The clear is much more rigid and sticky than the regular Alumilite. This proved too much for the mold and the top piece ripped when I tried to remove it. If I make another try, I will probably buy Dow Corning’s HS II silicone for my mold because it has higher tear strength.
It’s too bad the mold died, because I wanted to try making a clear lens. I could then place an RGB LED in the switch so I could light it with my Rainbow LED Circuit
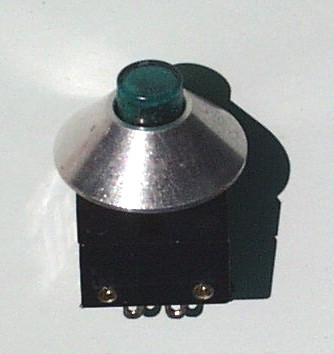
Here is a shot if the button illuminated on my Aluminum Flight CP. I used a super bright green LED which I chose because it gave a very emerald green glow. I had to dim the LED down with a 4700 ohm resistor because it was way too bright.
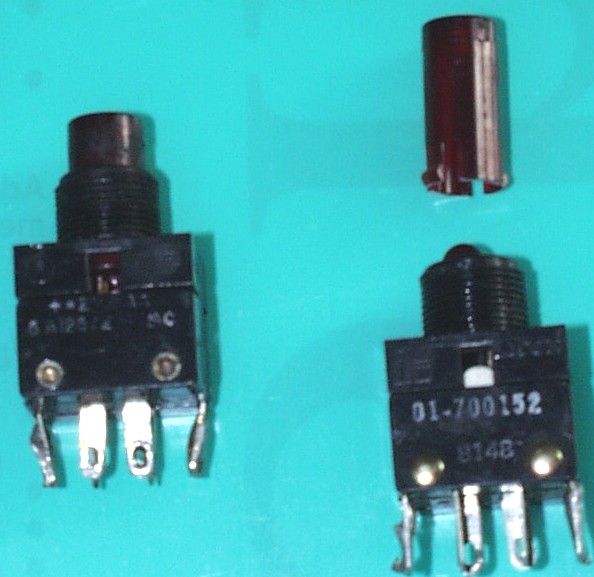
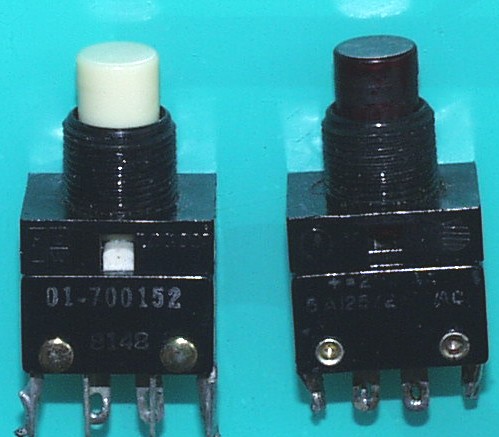
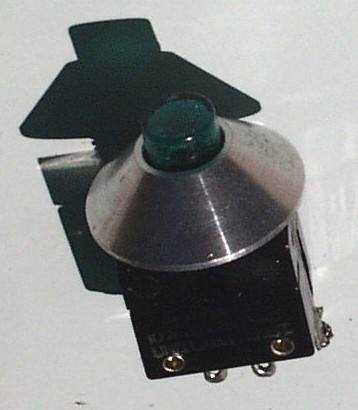
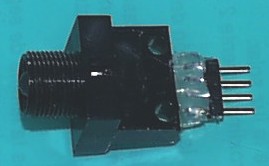
I recently visited an electronics surplus store. While perusing the vintage avionics section with no discernable inventory system, I caught something out of the corner of my eye. About 10 feet up was a large box with an Atari volcano switch stuck to the front. I quickly piled up some junk and climbed up to the box. I brought the heavy box down and placed it on the counter. I slowly opened it up and it was filled with tons of switches. Unfortunately, none of them were volcano switches. However, after searching all the boxes on the aisle, I scored 3 switches that are very similar. Here is a pic:
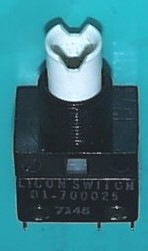
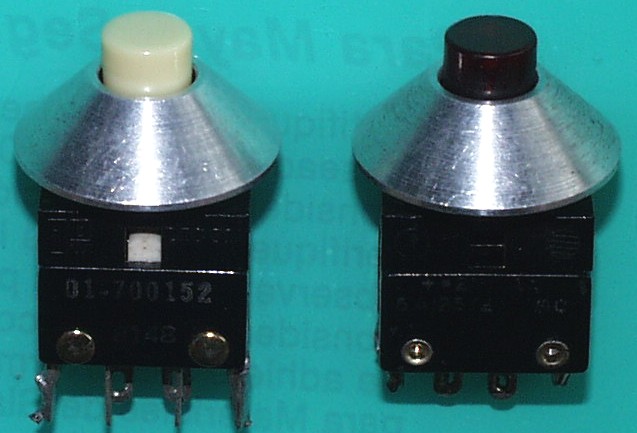
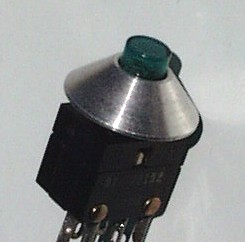
The switch is a Licon and has the exact dimensions as the Atari version. The only difference is the lens and instead of an LED there is a mini-bulb socket.

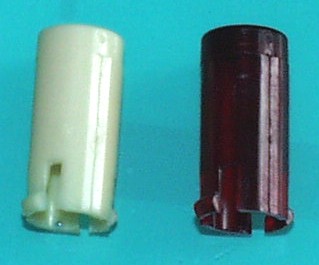
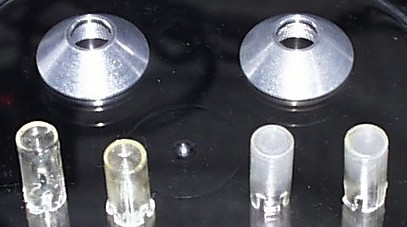
I’m not really sure how the lens worked. It looks like something else plugged into it. Still the bottom dimensions of the lens are identical to the Atari red lens
Therefore, all I needed was some new lens. Since I had to replace the bulb sockets, I figured I might as well cast clear lens and use an RGB LED. Learning from past mistakes, I designed a 2 part mold. For the bottom I used quickset RTV silicone. For top, I switched to high strength HSIII silicone, because there is a substantial amount of suction that is generated when you remove the top which tends to tear the molds.
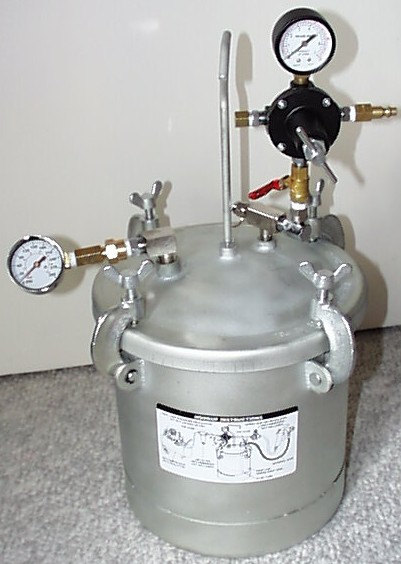
The biggest problem with my first batch of green buttons were little air bubbles that formed in the lens. After some research, I learned that letting the resin cure under pressure will reduce any bubbles to a size that is not visible. The pressure vessels are several hundred dollars, so I decided to improvise. I purchased a pressure paint tank with regulator on eBay for $10. I then went to Home Depot and picked up a ball valve, some fittings and an additional pressure gauge. My tank can actually withstand almost double the pressure of the expensive casting tanks. Below is my DIY pressure tank.
The tank actually worked. My first batch of clear lens looked much better than the green ones.
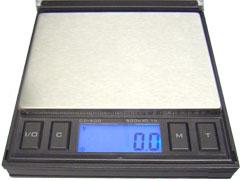
They are still not perfect, but I attribute this to improper mixing. The resins are supposed to be mixed by weight but I mixed them by volume because I don’t have an accurate scale. I just bought a digital scale on eBay that should resolve this issue. The scale is accurate to .01 of a gram.
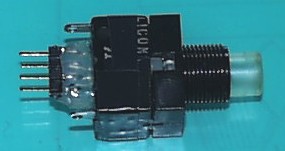
A shot of the volcano switch with the socket replaced with an RGB LED. I used a wire drill bit to make holes for the additional leads. I soldered a 4 pin connector to the bottom of the switch and reinforced it with hot glue.
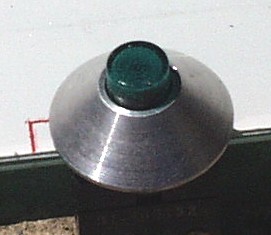
A shot with clear lens inserted.
Another shot with an aluminum cone.

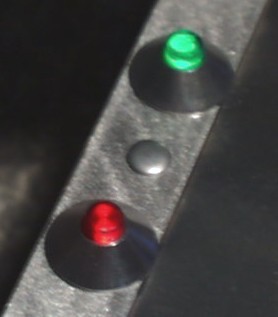
Here is shot hooked up to my new Rainbow circuit.
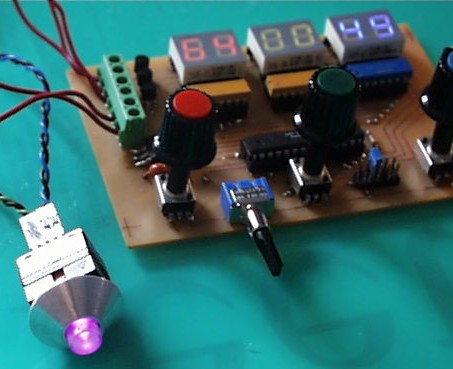
Some more eye candy. The diffused super bright RGB LED looks great even during the day.
