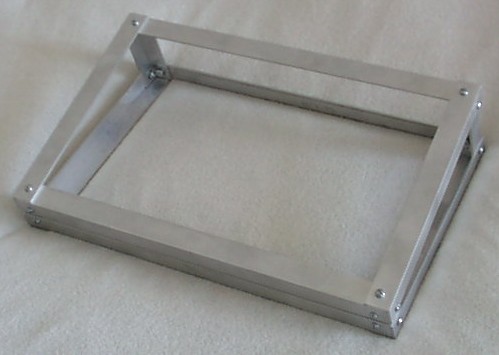
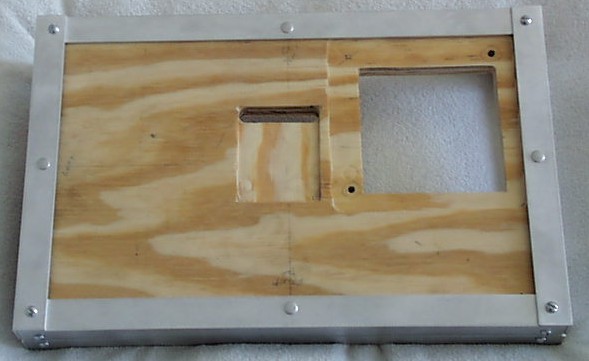
After spending a year on Rototron, I was reluctant to begin another long term project. Yet, after a few months, I had the urge to get back to the workshop. I am currently working on 3D game programming and thought it would be helpful to have a small CP in my office for testing purposes. I had some aluminum left over from my IR Stripper project, which I wanted to put to good use. Using my miter saw with a non-ferrous blade, I was able to build this 11″ x 17″ frame quickly.
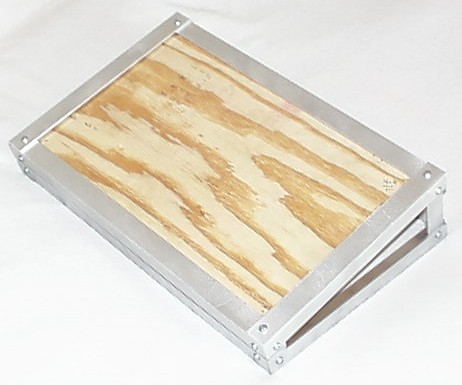
Instead of MDF, I went with a plywood CP base. The plywood is cheaper, stronger, lighter and non-toxic.
As a programmer, I needed a little more input than standard buttons, so I decided to include a USB numeric keypad in my design. I got the idea from a Skins Game 2000 I saw on KLOV.
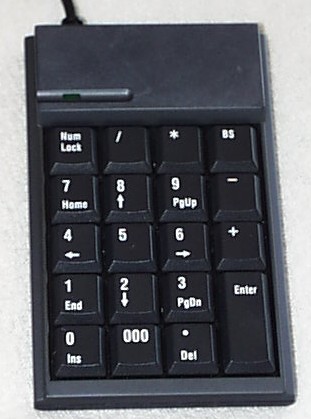
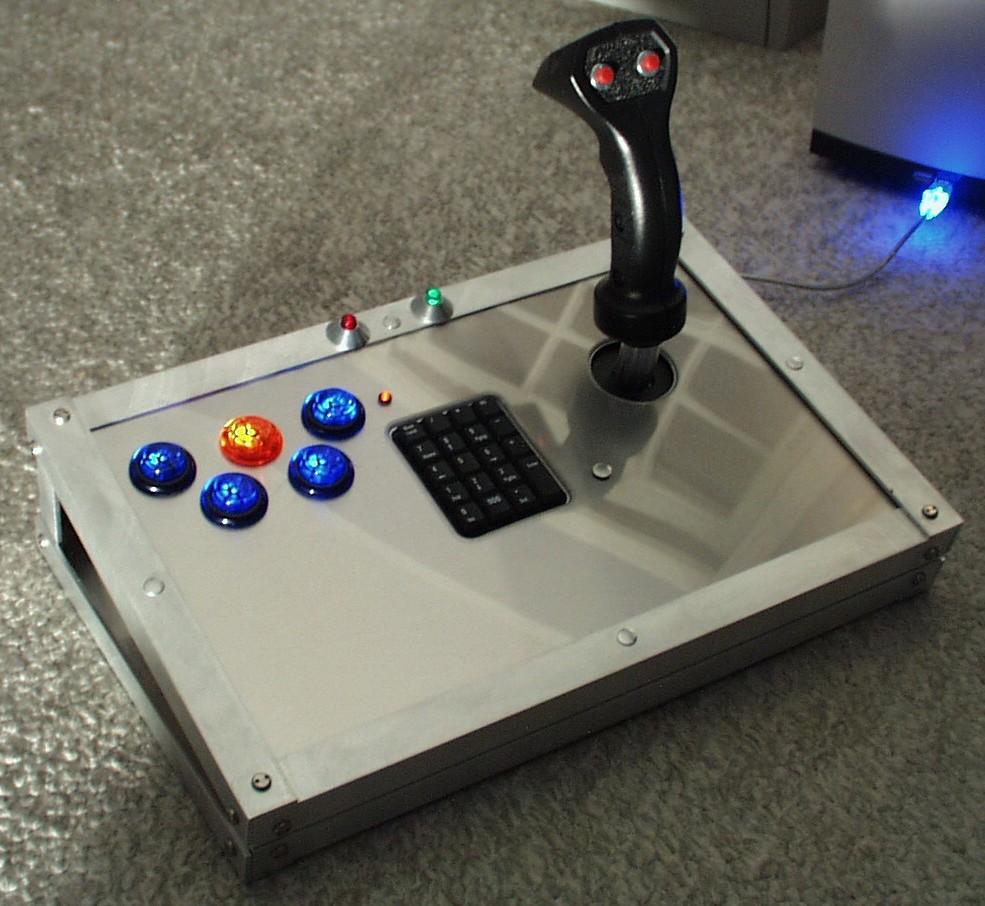
I took apart the keypad and routed the proper size hole on my CP. I also routed space to top mount a Happ Analog Flight Stick (Part# 95-1346-00 Discontinued).
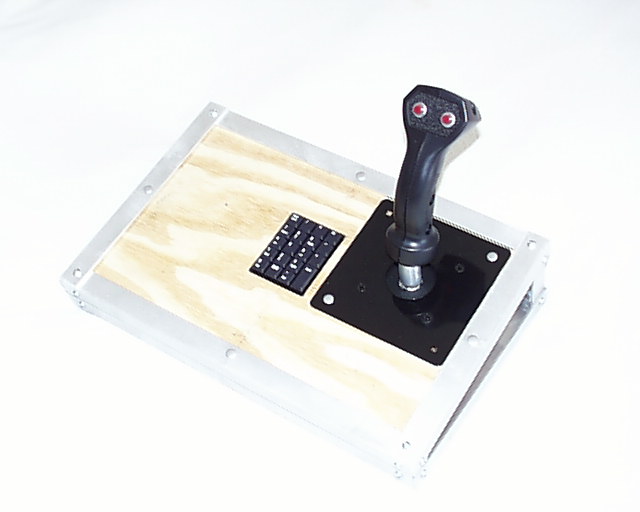
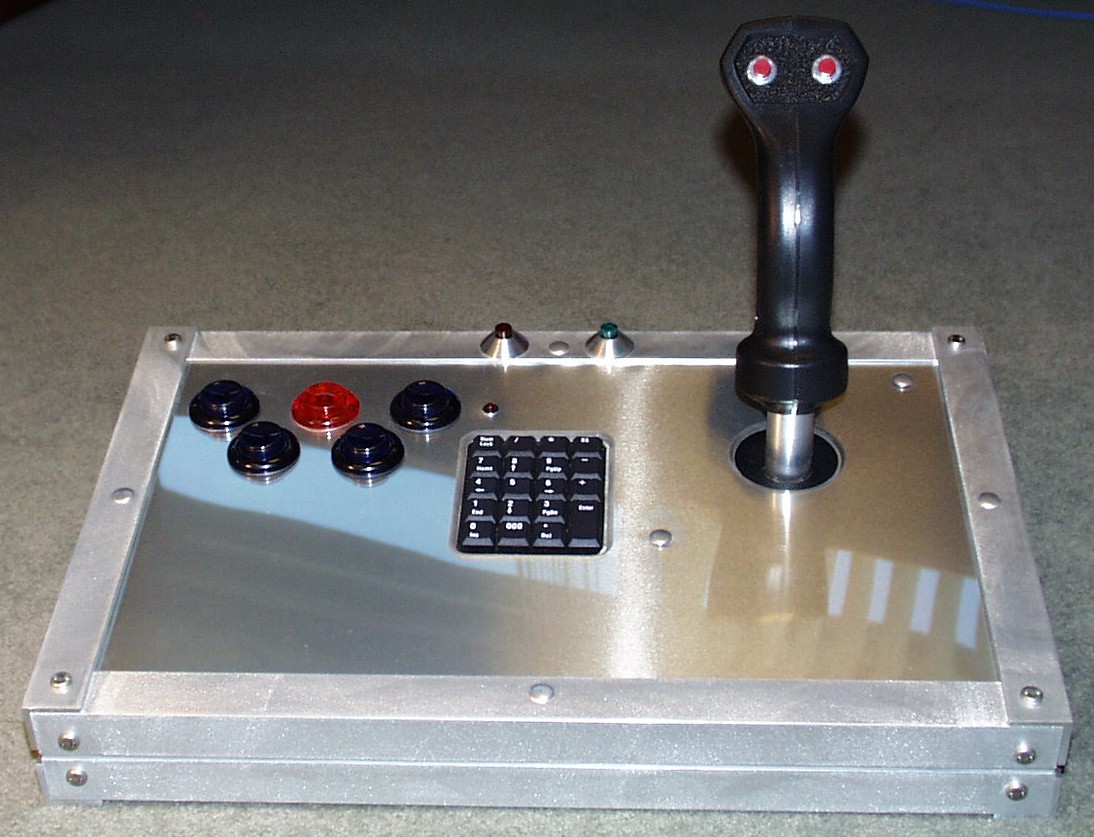
Here are the numeric keypad and flight stick mounted. The keypad hole was tricky. I started by routing and chiseling a rectangular opening as seen above. The opening was the dimensions and depth of the keypad. Later I flipped the CP over and used a flush trim router to make the opening go all the way through the CP. Since the lower portion of the opening was not chiseled, the keypad sits at the correct depth and having the opening go all the way through made it much easier to flush trim the Lexan and mount the keypad’s circuit board.
Next I cut some Lexan to place over the plywood. If you look close I put a bevel around the keypad hole and the joystick hole.
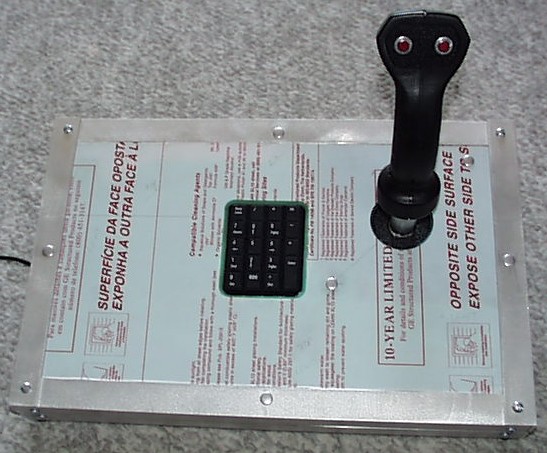
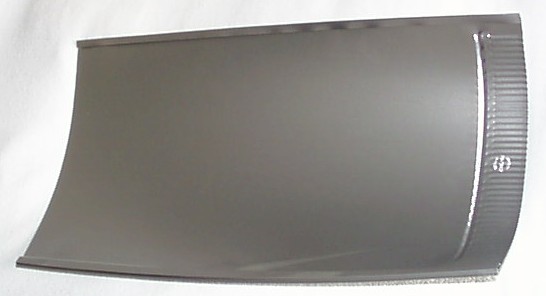
I then used an extra piece of 4″ heating conduit to make an aluminum top which I placed between the Lexan and the plywood.
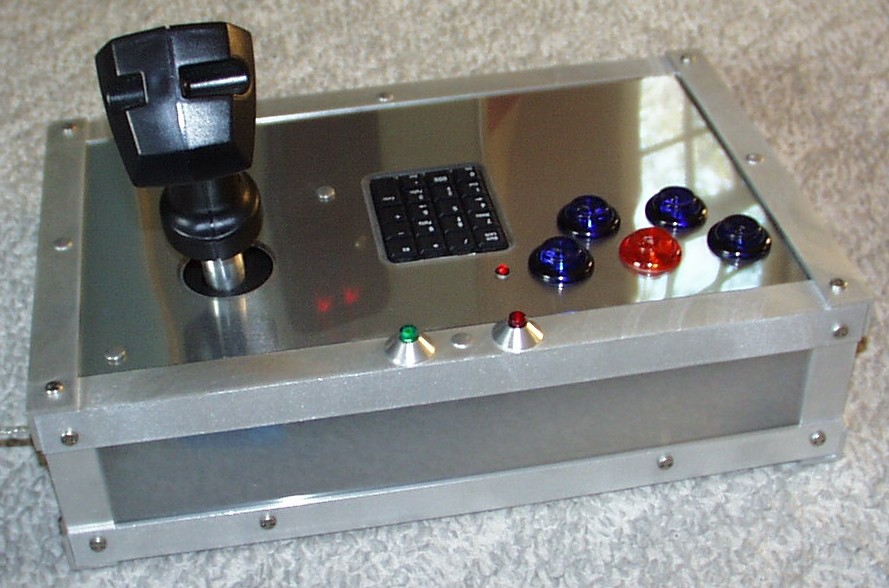
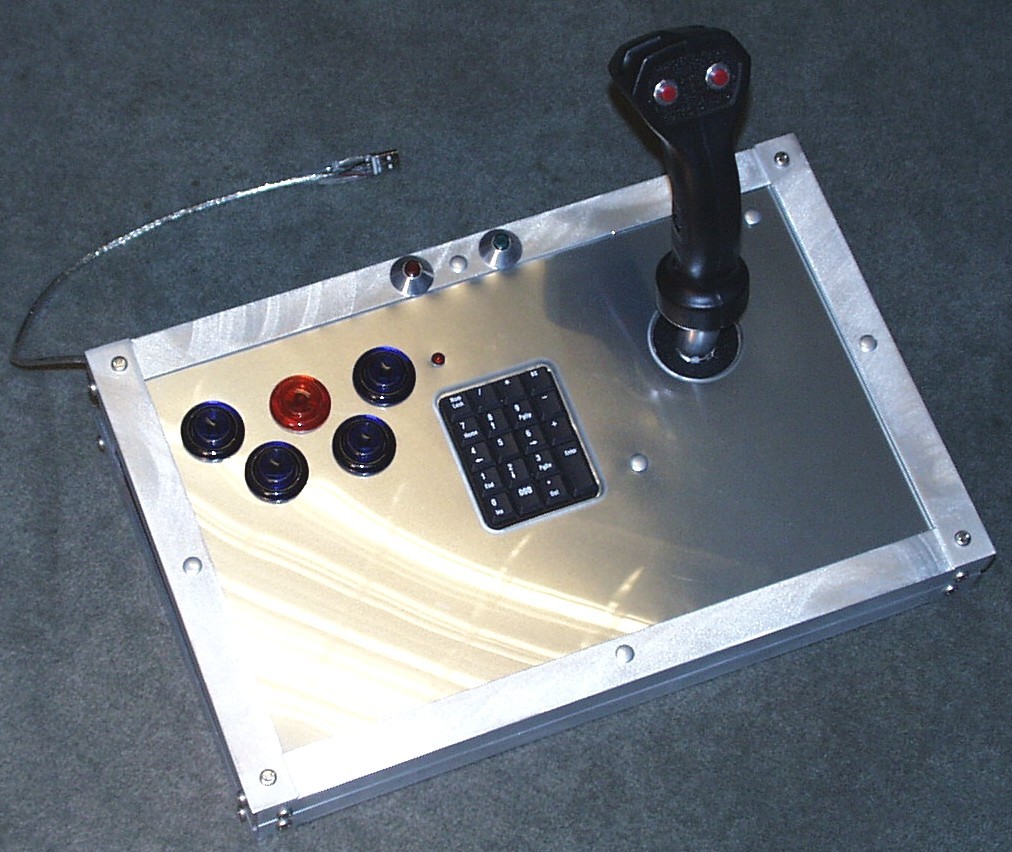
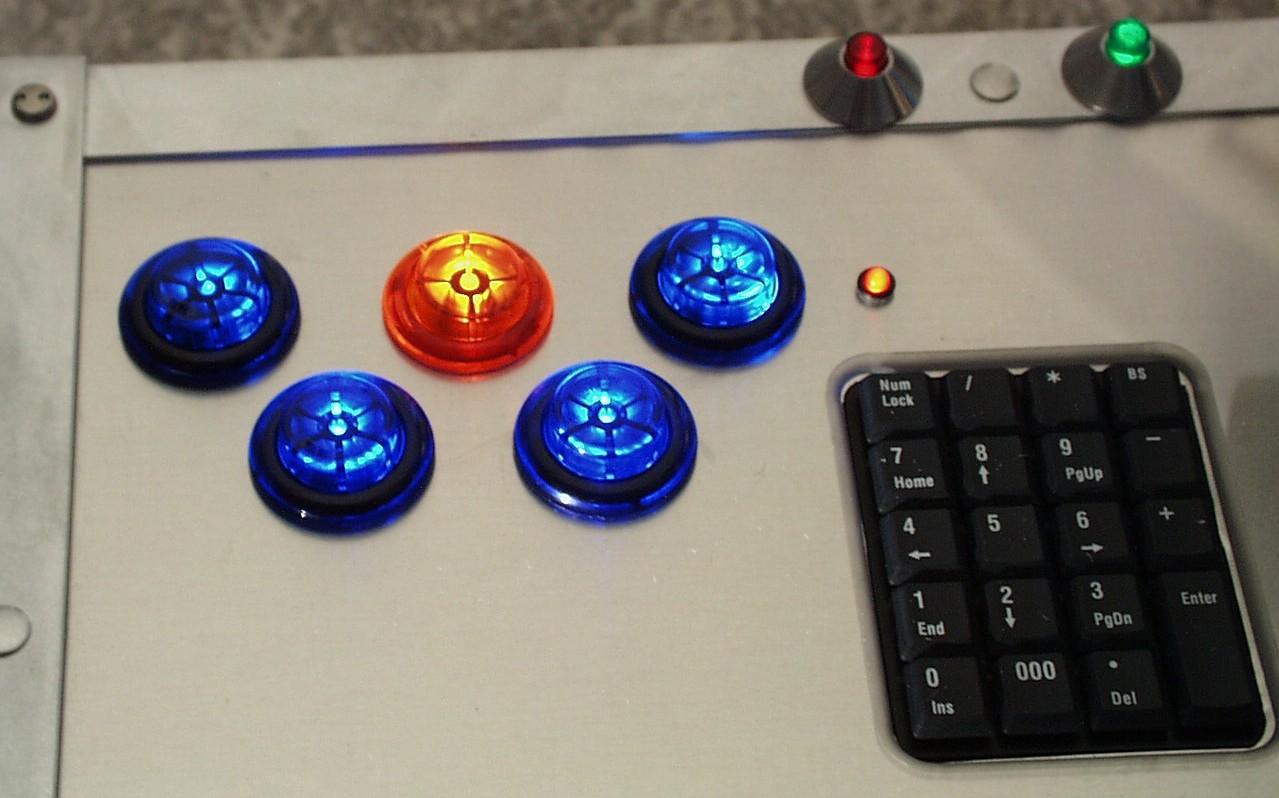
Next I added the buttons. I used 5 translucent leaf switch buttons. It’s hard to see in the picture, but they are the very dark blue and dark orange shorts. I added a custom green volcano switch and a red one to the top of the aluminum frame. The red LED above the keypad is for the Num Lock. The flight stick and all buttons are interfaced using a Dual Strike Hack.
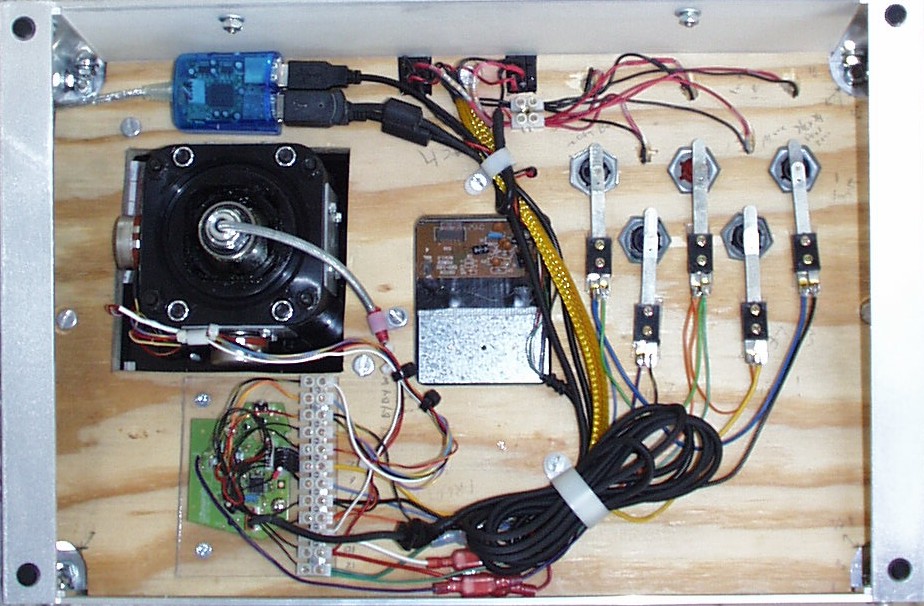
Here is a shot from underneath showing how I removed the circuit board from the numeric keypad and glued it to the back of the pad. I also removed the LED from the board and extended to an external LED. The five leaf switches are mounted directly to the plywood with Lexan spacers. The nuts barely fit on the short translucent buttons. I mounted a small 4 port USB hub to allow a single USB cable to feed the keypad and the Dual Strike.
I didn’t like the look of the standard slotted screws so I replaced all of them with stainless steel pan head spanner (snake-eye) screws. To secure the CP and joystick and used aluminum screw posts.
This shot shows the bevels around the keypad and joystick openings. I cleaned up the aluminum bars with a random orbit sander. I’m very happy with the finish, but the aluminum edges are sharp.
The next step was to illuminate the transparent leaf switch button. To install the buttons I drilled a 5/8″ hole through the CP. Next I routed a 1-1/4″ opening directly over the smaller hole. The large upper part of the button fits in the large hole and the shaft fits snug in the smaller hole. I then drilled a very steep angled 1/4″ hole at the base of the upper hole for the LED.

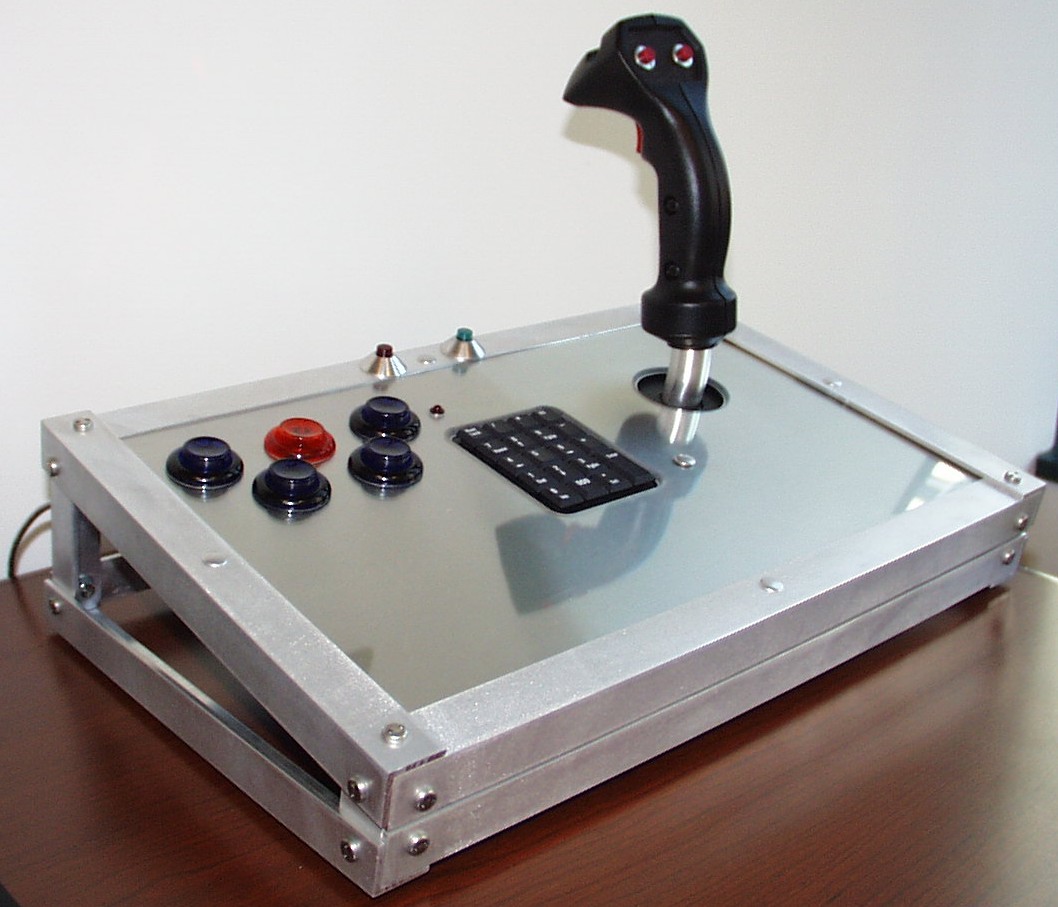
I used 4 super bright blue LED’s to illuminate the blue buttons and a super bright white to illuminate the orange button. The dark blue buttons have a brilliant sapphire color when lit. I also illuminated the red and green volcano buttons.
I used a USB cable to power all the LED’s. I just cut a standard USB cable and clipped the data wires and shielding. I then ran the 5 volt DC power to a block which I used to distribute the power. There is a myth that the USB device must communicate with the computer before the port gets power. This isn’t true and doesn’t make much sense since the device would need power before it could signal the computer. I was a little concerned about pulling too many amps on my single USB feed. I have a 4 port unpowered hub that has a built-in super bright blue LED in the plug. The hub feeds the Dual Strike hack, the numeric keypad with LED, five super bright LED’s rated at about 20A and the two volcano buttons. However, I’ve tried the CP on a computer and laptop with no problems.
I used a piece of Lexan to cover the back panel. I sanded the inside portion of the Lexan with a random orbit sander to create a diffused glass look. The outside is left clear which gives an opaque mirror like finish similar to the top of the CP.