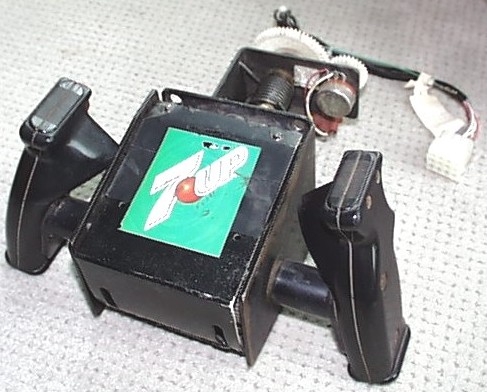
Here is a S.T.U.N. Runner yoke that I picked up on Ebay. It looked pretty bad and had some mechanical issues, but the yoke market is pretty competitive. The first thing to go was the 7-UP sticker.
Here is an Illustrated Parts List in PDF format.
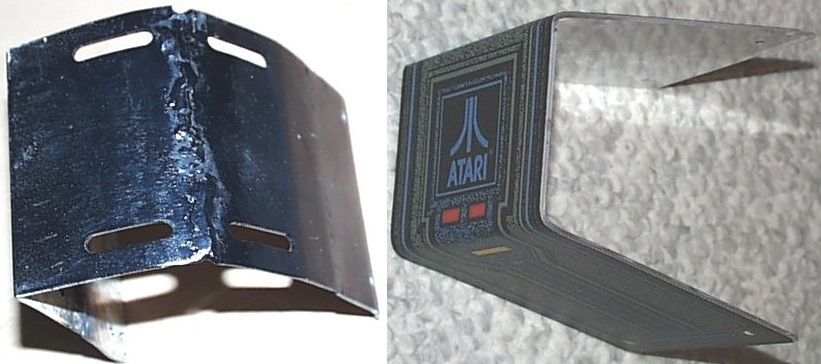
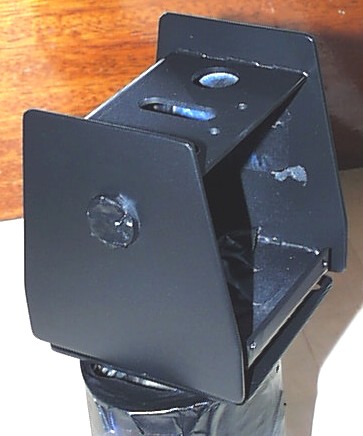
The yoke came with a pretty messed up homemade cover. I constructed a new cover using plexi-glass. I built a jig out of wood and then used a heat gun to bend the plastic to the right shape. I tried Lexan first, but I could not get it to bend evenly. The Star Wars sticker was purchased on Ebay for $15.
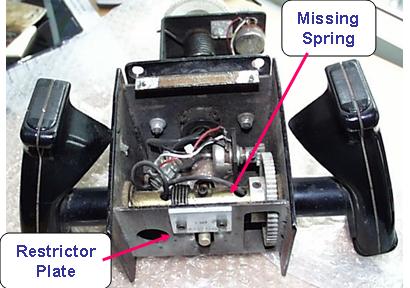
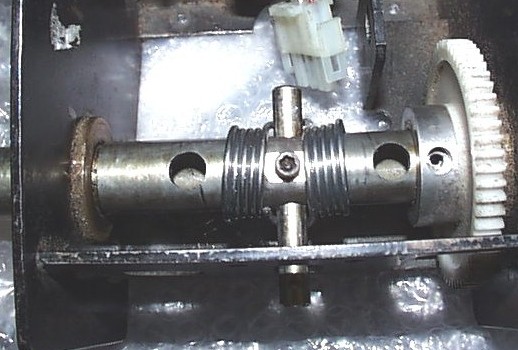
S.T.U.N Runner must have a limited range of motion, because there was only 1 vertical centering spring and vertical movement was blocked by a restrictor plate. I removed the plate and fabricated 2 new springs from a similar spring I purchased at the local hardware store. I used Vice-Grip pliers to shape the springs.
Here are the new springs installed. The yoke now has a full vertical range and centers well. I looped the springs around the bottom of the axel rod instead over the top as the original.
Here is the cleaned up yoke base after a few coats of primer and satin black spray paint.
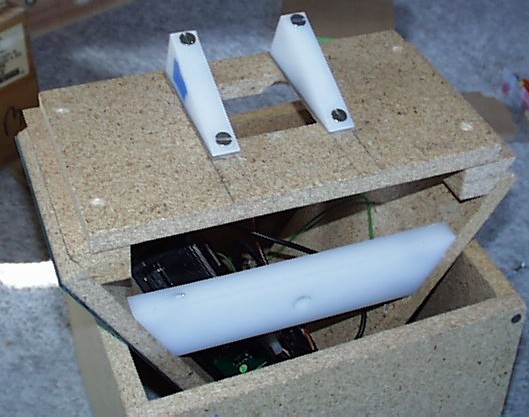
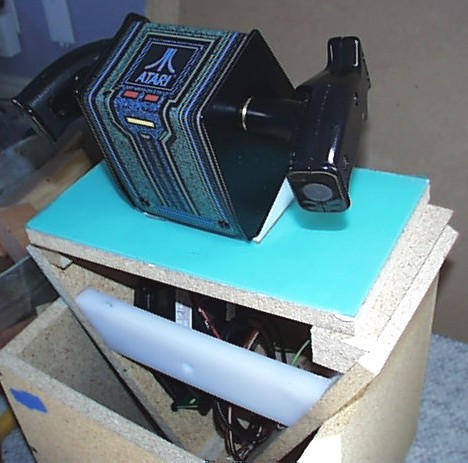
I cut out a square on the triangular panel for the yoke. I used 2 pieces of UHMW plastic to mount the yoke at a 22.5 degrees angle. I had to add two small strips of Lexan under the UHMW mounts to raise the yoke up so the front of the yoke would clear to CP when turned. The bottom of the CP had to be routed slight to allow the yoke to squeeze through the narrow opening.
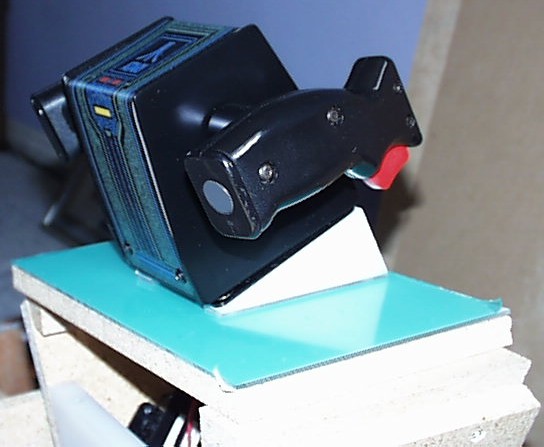
Here is a side view of the mounted yoke. The 37.5 degrees mounting affords a very comfortable operating position.
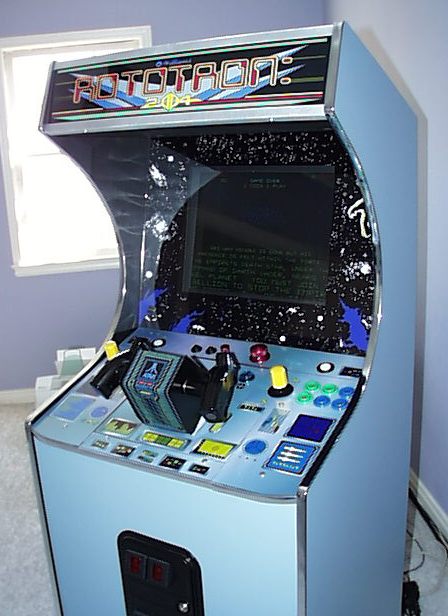
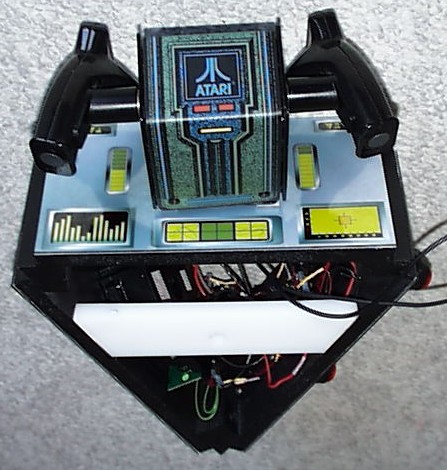
Here is the completed yoke. This was by far the hardest component to fit into my design, because of its size. The top of the yoke takes up almost as much space as a shoebox. At 12″ x 7.75″ the triangular CP accommodates the yoke with only a fraction of an inch to spare on all sides. During rotation the yoke clears the sides and coinbox by a hair. Another design headache was the large gears underneath. The yoke is about 11″ from the top to the bottom shaft where the wires come out. It was very difficult finding the right mounting position and angle. If the angle was too low the lower gear would hit the cabinet’s 1/2″ steel drive shaft and if the angle was too high the gear would stick out of the side of the triangular CP and block the rotation path. The weight (over 10 pounds) also complicated the installation and design. This one control probably doubled the construction time of my cab. Still it is worth the trouble to be able to play all the flight and racing games. I especially like Out Run on the yoke since you can switch gears using the triggers.
Here is a front view mounted on my painted tri-panel with artwork. The yoke doesn’t have thumb switches like the Star Wars yokes, but Happ Controls does sell replacement handles with thumb switches if I ever decide to upgrade. I would probably try adding my own thumb switches first.
The finished product.