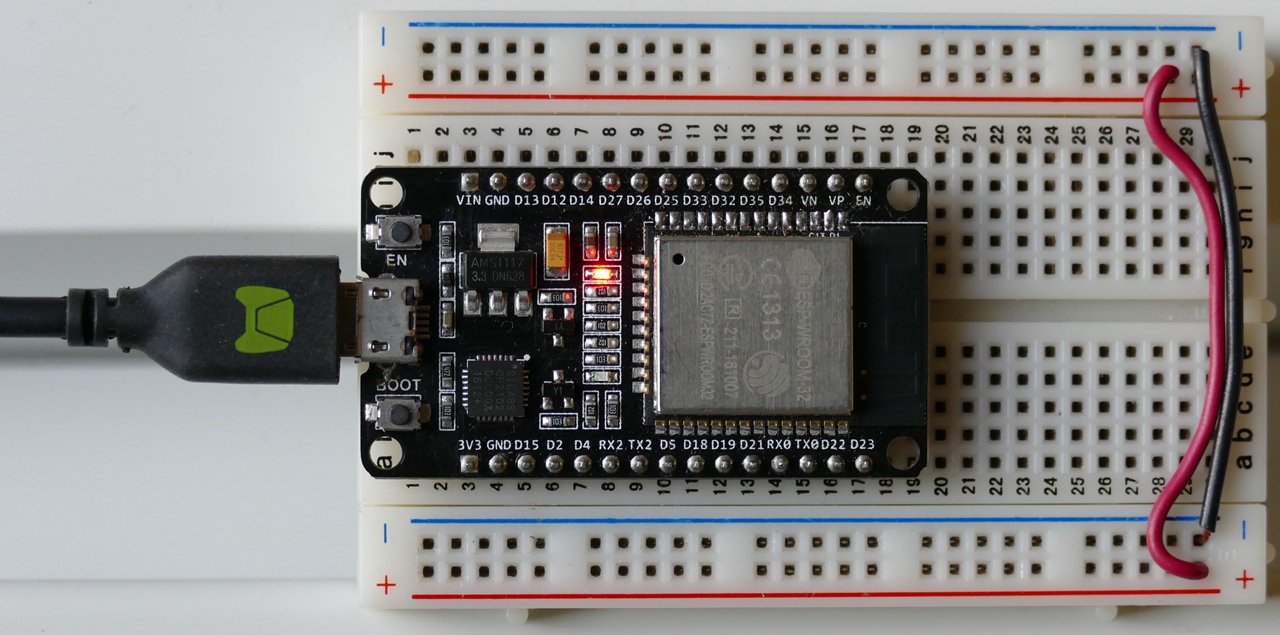
In this quick tutorial, I’ll fix 2 dead ESP32 boards and also show how to use serial communications between a Raspberry Pi and an ESP32. The other night my Wemos Lolin32 Pro died so I figured the troubleshooting might be of interest. I’ll also have a generic ESP32 that broke during my MQTT tutorial.
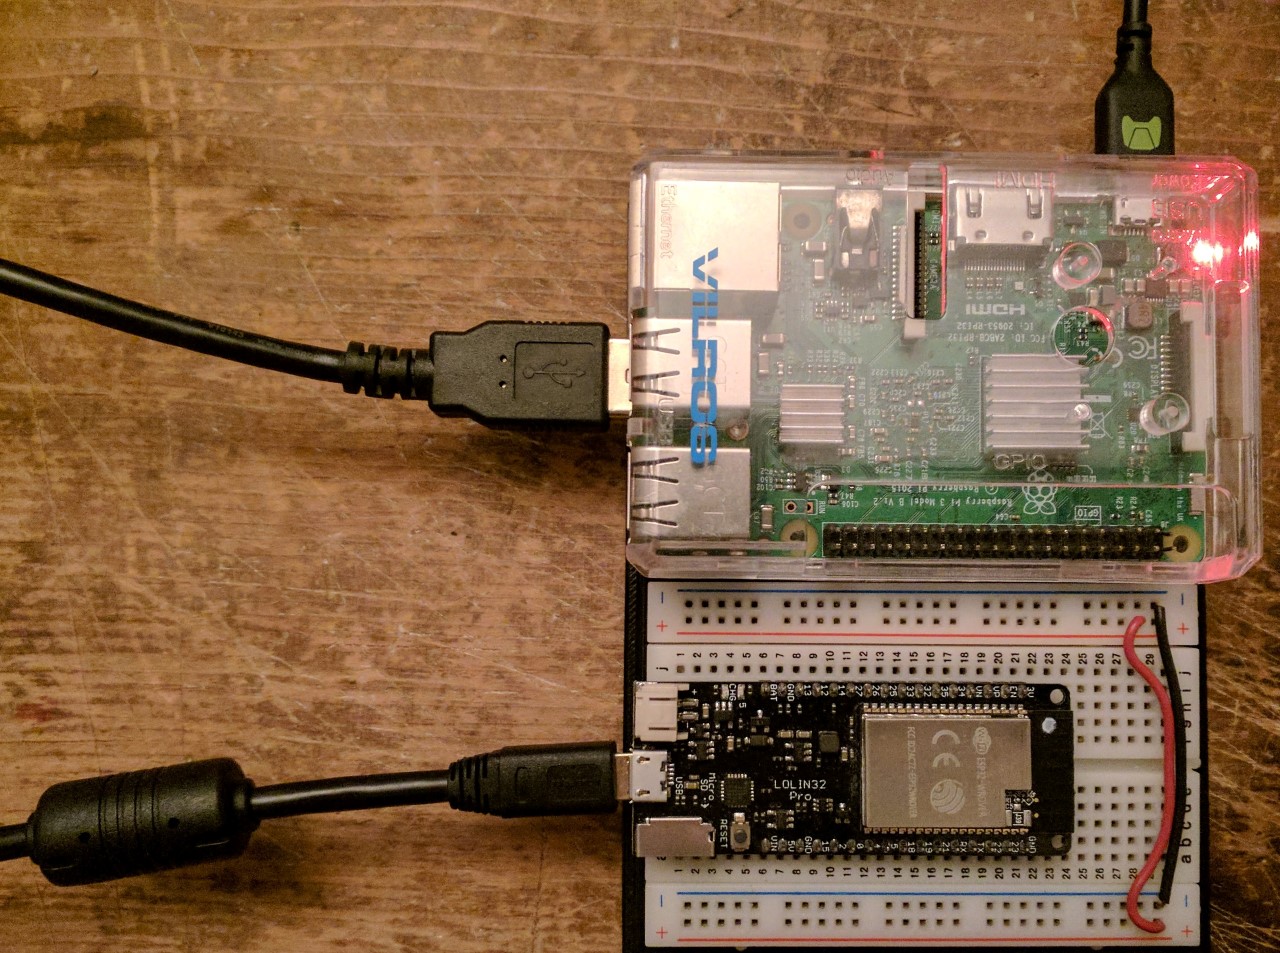
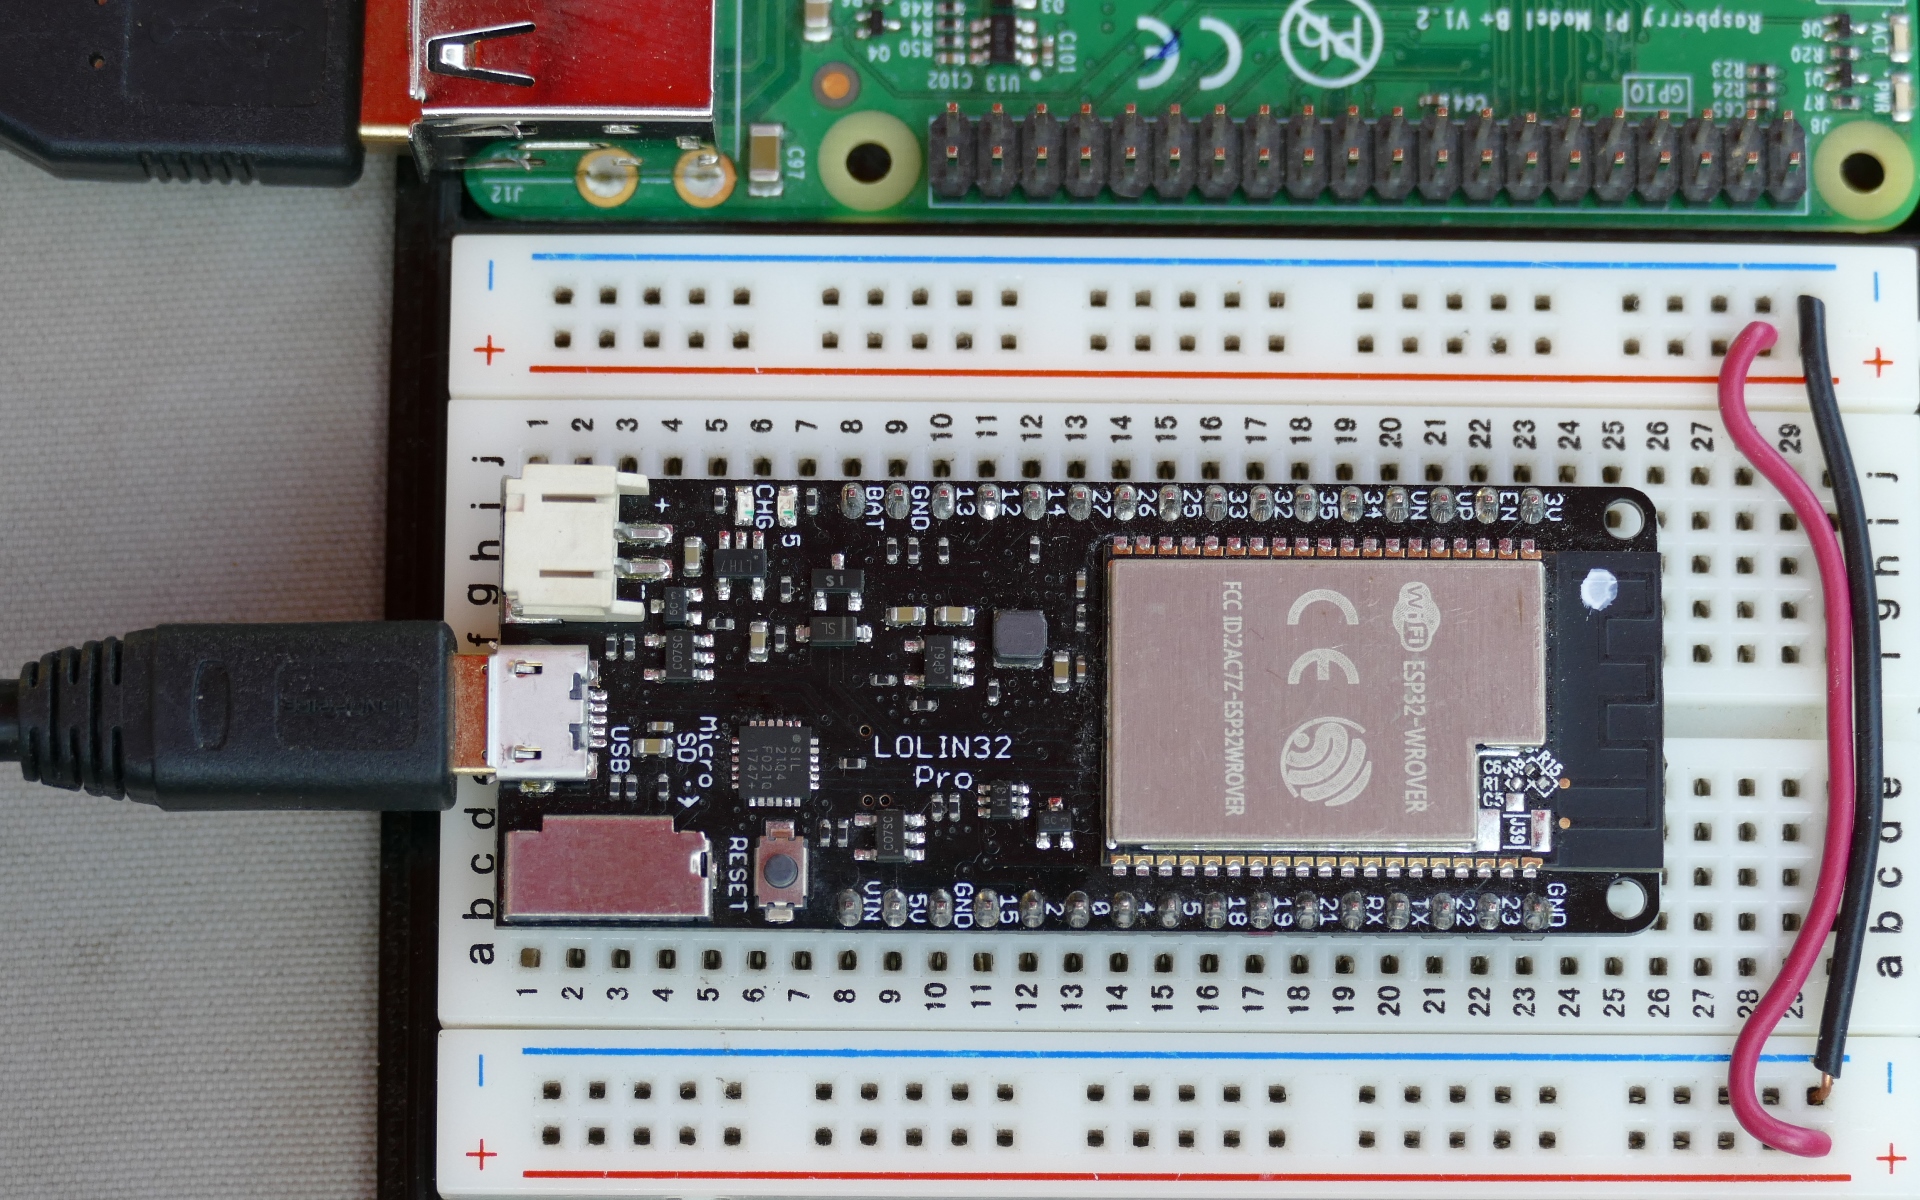
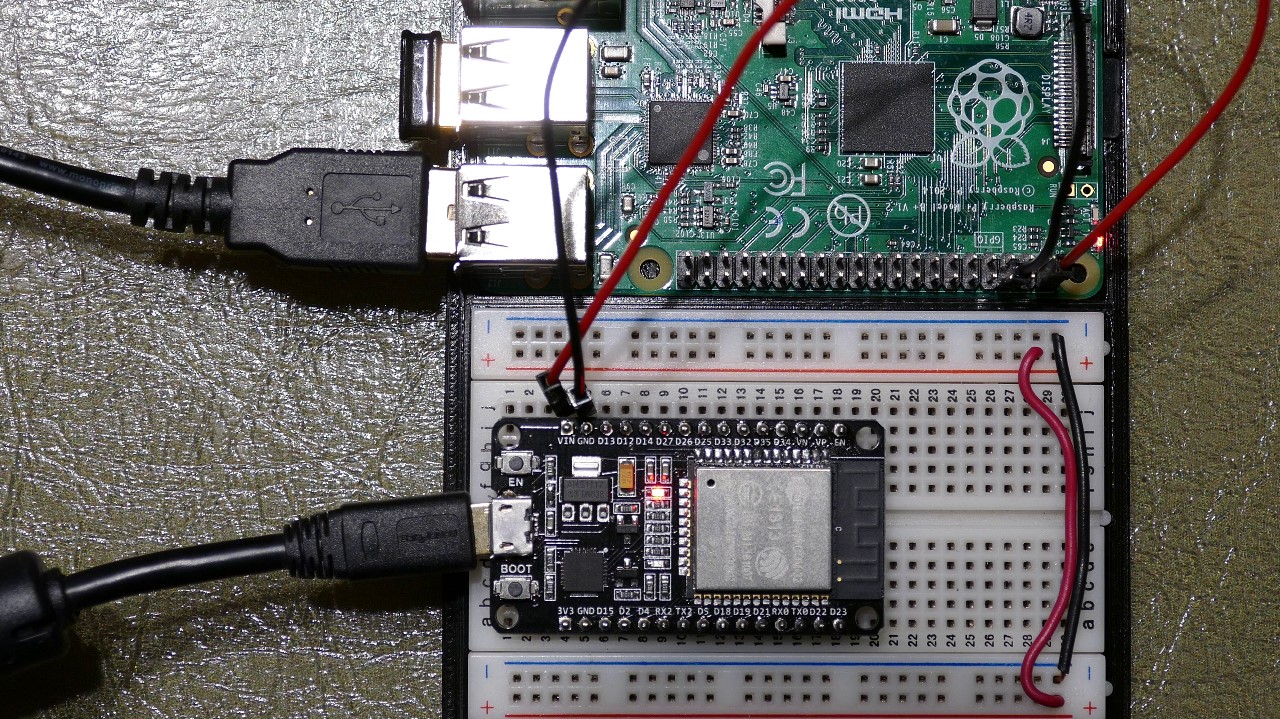
The Lolin32 is connected to a Raspberry Pi via a short USB cable.
In a blank terminal on the Raspberry Pi, dmesg can be used to determine if the Pi recognizes the ESP32 USB connection.
[ 4.617891] usb 1-1.4: cp210x converter now attached to ttyUSB0
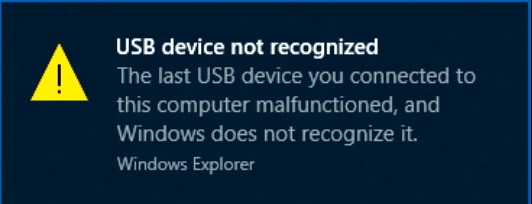
A CP210X is detected on ttyUSB0 which indicates the USB jack is probably OK. It doesn’t necessarily mean the CP210X is good. Plugging the ESP32 into a Windows PC throws a USB device not recognized error. This suggests a problem with the CP2104 USB to UART bridge.
I inspected the board and the micro-USB jack looks OK. I didn’t see any cold solder joints or other obvious damage. The first repair step after a visual check is to measure voltages. Sometimes poor quality USB cables or power supplies can cause under voltage issues.
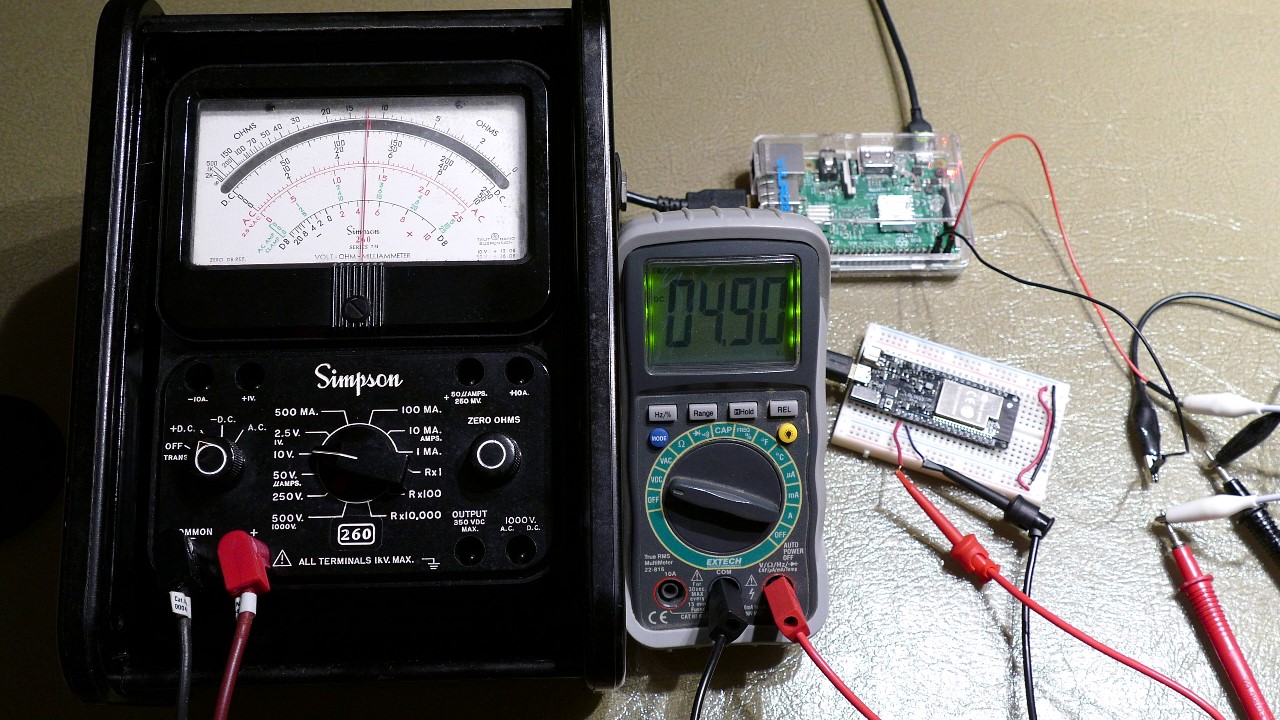
The ESP32’s 5 V rail is at 4.9 V which is a little low but within tolerances. The Pi’s 5 V rail is also just under 5 V so there’s not much voltage drop through the USB cable or jack. The ESP32’s 3.3 V rail is at 3.23 V which indicates the step-down regulator is OK. A failed CP2104 USB-TO-UART BRIDGE would explain the connectivity issues. The chip is right next to the reset button which gets pressed frequently making it susceptible to ESD.
Despite the USB not working, it’s still possible to check the ESP32 module using a serial connection which is very easy to wire. The Pi’s RX pin GPIO 15 is connected to the ESP32’s TX pin. The Pi’s TX pin GPIO 14 is connected to the ESP32’s RX pin. A 5 V pin on the Pi is connected the ESP32’s Vin and the grounds are connected. Always be careful with 5 V lines because the GPIO pins can only tolerate around 3.3 V and are susceptible to damage at higher voltages.

In the video I use an old Raspberry Pi B+. I chose the older Pi because some newer Pi’s reserve the primary high throughput, full featured serial port for Bluetooth. There are workarounds but this is easier.
Once the serial wiring is ready, dmesg can be used to check the UART status.
[0.818368] 20201000.serial: ttyAMA0 at MMIO 0x20201000 (irq = 81, base_baud = 0) is a PL011 rev2
[0.818471] console [ttyAMA0] enabled
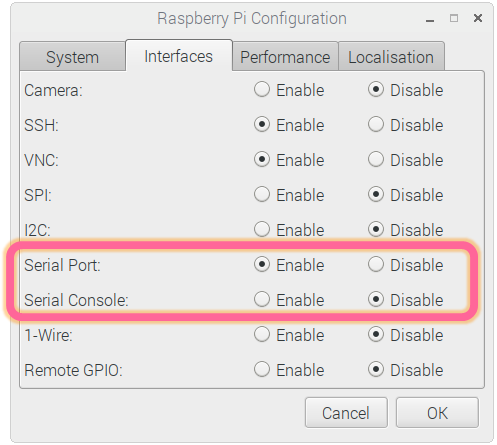
The serial console needs to be disabled. The interfaces tab of the Raspberry Pi Configuration can be used to disable the console. However, the serial port should remain enabled.
Run Rshell and specify ttyAMA0 for the port.
Connecting to /dev/ttyAMA0 …
Welcome to rshell. Use Control-D to exit.
If Rshell is able to connect then the ESP32 module is probably OK. Therefore, the culprit is likely the CP2104 USB to UART bridge.
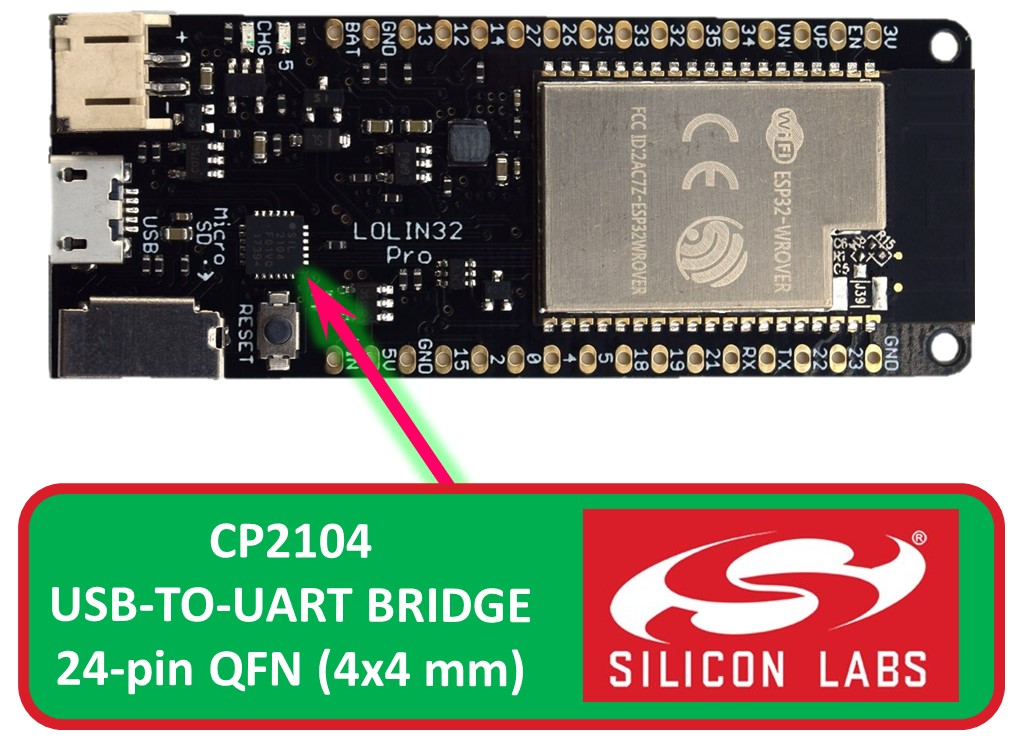
In the past I’ve relied on an iron to do surface mount soldering. However, the CP2104 is 24 pin QFN which stands for Quad Flat No-leads package. These are challenging to repair using only an iron so I went ahead and ordered an 858D+ hot air rework station.
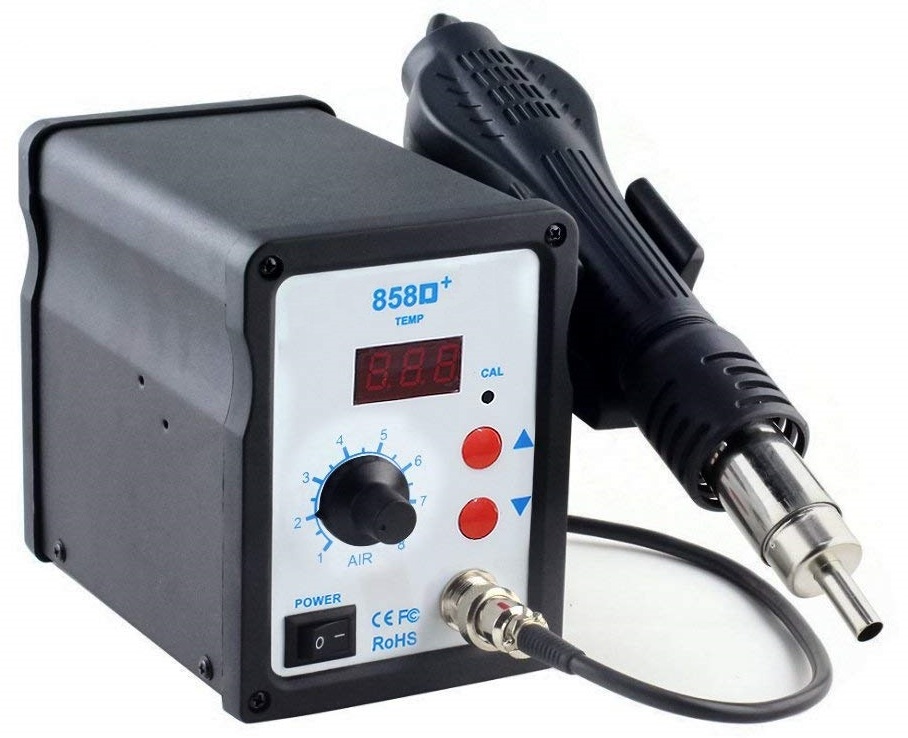
The 858D+ has adjustable air flow and temperature, a digital LED temperature readout and a small footprint. It was only around $40 US which is a fraction of what a decent hot air station costs. The 858D+ is sold by many vendors and it’s hard to tell what you’re going to get inside in terms of PCB, microcontroller and components, but most of the short comings have been addressed by hackers. There are schematics, add-ons, adapter boards to swap out the MCU and improved firmware is available. There is a long thread on the EEVBlog discussing the 858D+. The hot air gun made quick work of removing the CP2104.
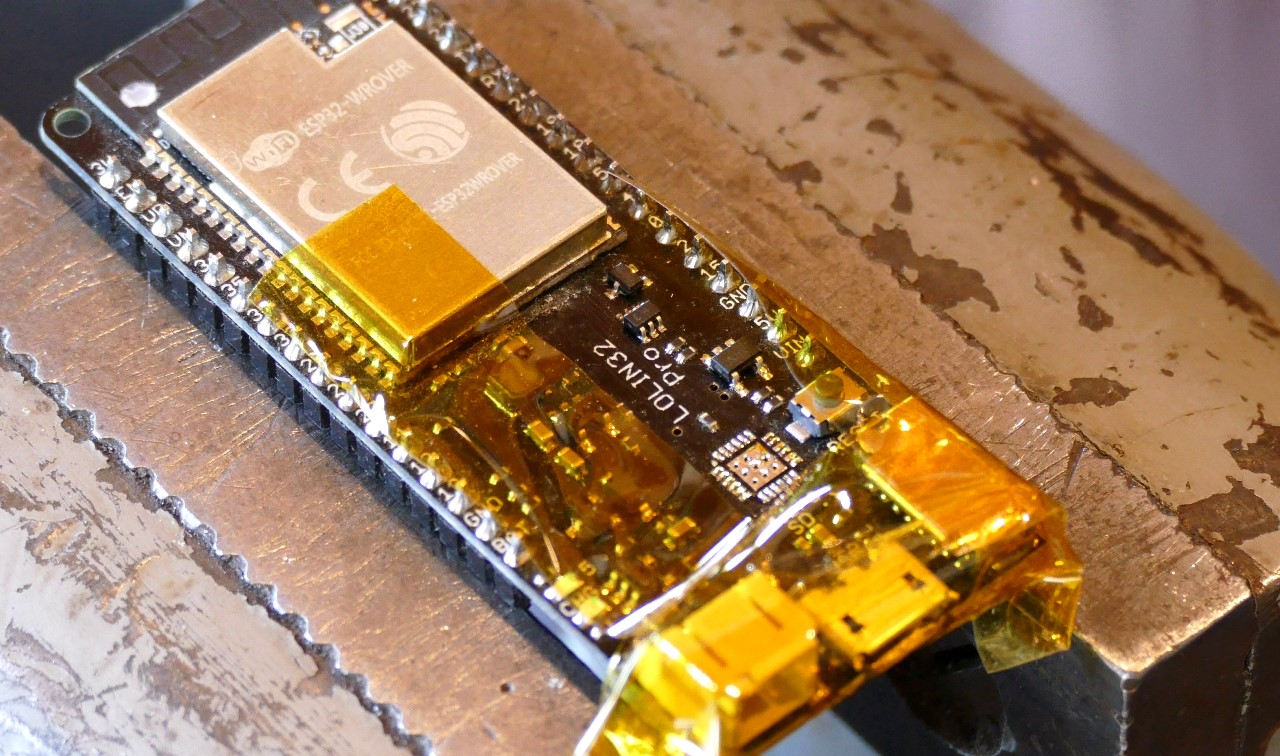
After installing the new CP2104, the Lolin32 Pro works great!
Next is the generic ESP32 that started to have intermittent USB connectivity issues prior to failing completely. The micro-USB jack clearly was defective. The plug fit into the jack very loosely and hung out at an angle. Since there was physical damage, I didn’t think reflowing the existing jack would help. There could be other issues but the jack definitely needed replacement. This was confirmed with dmesg grep ttyUSB which returned nothing. The Raspberry Pi didn’t see any device connected to the USB port.
pi@raspberrypi:~ $
I could have used a serial connection to ensure the ESP32 module was OK, but it wasn’t necessary because as soon as I applied 5 V power from the Pi to the ESP32 Vin, the module came to life. Apparently the cockeyed jack had a break in the 5 V pin.
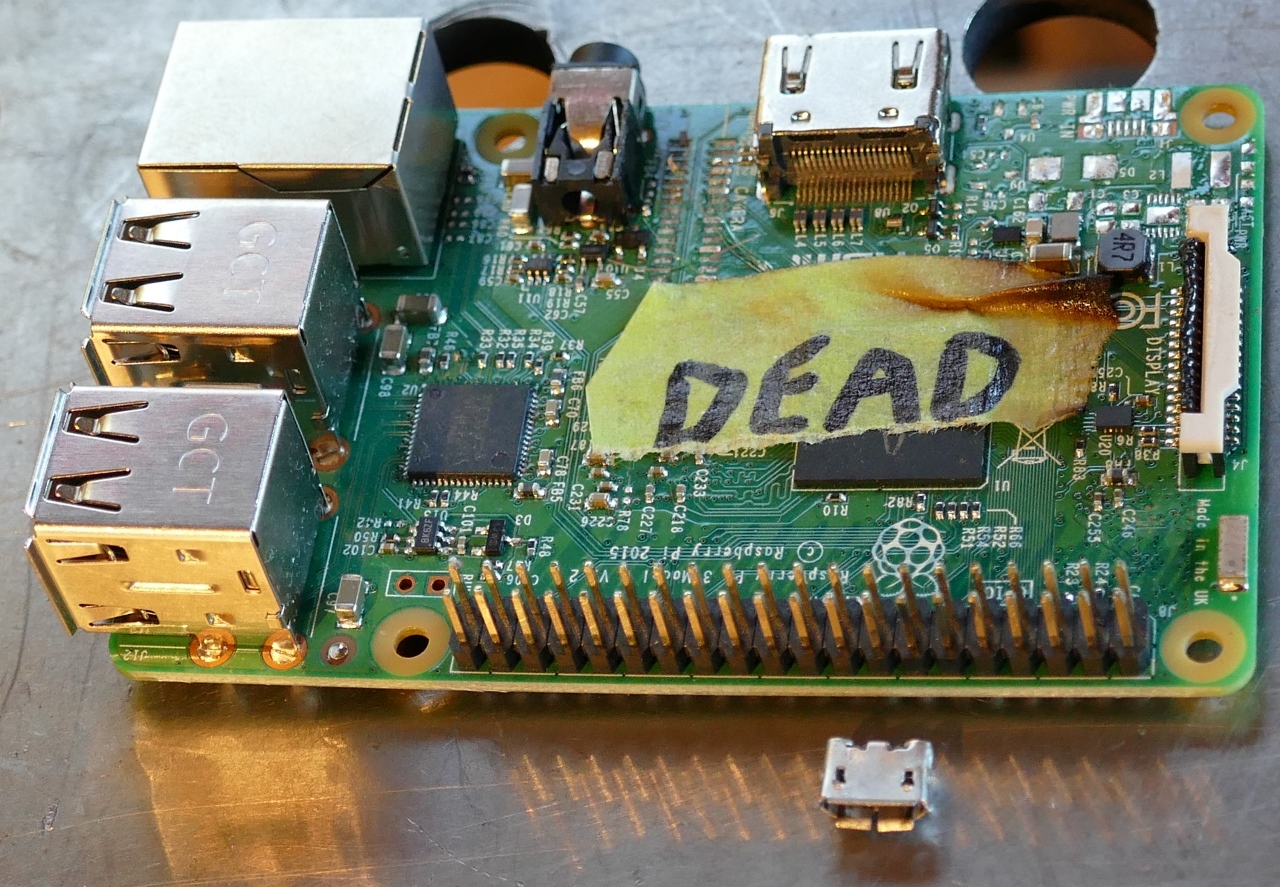
I recovered a micro-USB jack from a fried Raspberry Pi that was beyond repair.
The back through hole pins aligned correctly with the ESP32, but the 2 front pins were off so I just bent them at 90 degrees and surface mount soldered them. Again the hot air gun made easy work of replacing the jack. Afterwards the generic ESP32 board is working too!